

Today we are going to add data to our application, migrating some CSV files to Azure Storage, then processing the data from the files with Azure Data Factory into our Azure SQL database.
We are going to start with CSV files from https://rebrickable.com/downloads/. Looking at these CSV files closer, each of the 9 files map to our database schema, (we already created). Arranged by piece color, each zip contains 3D images of the pieces. We will start by building a quick little console app to upload the source files to Azure Storage for processing in the cloud. There are millions of records in the CSV files, so having the content available in the cloud will allow us to scale and process the data in seconds, rather than hours. If we processed these files locally it would take hours to unzip and then upload the millions of images to our website.
Building the console app to upload data to Azure
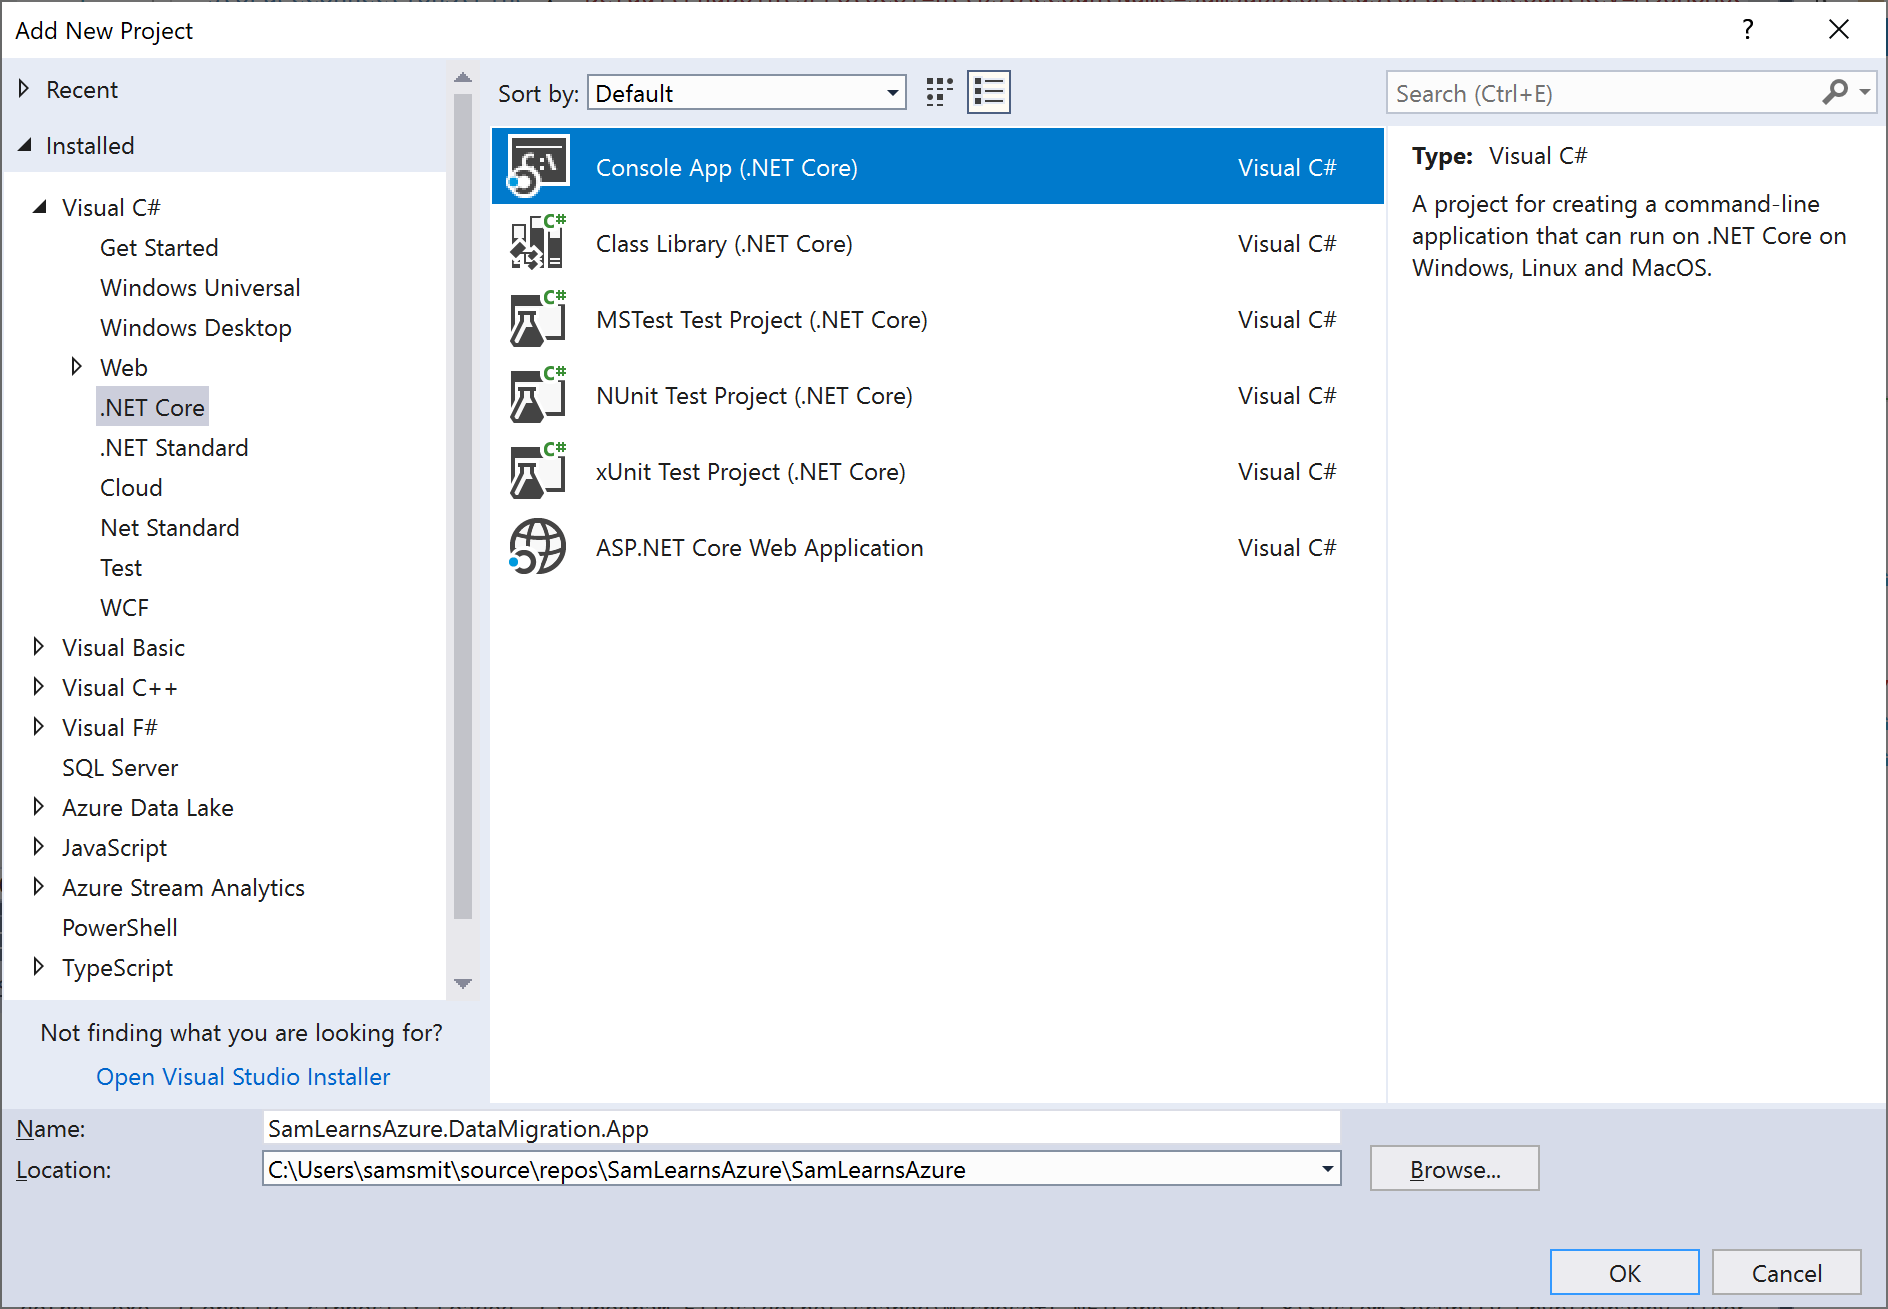
We start by creating a new console .Net Core project “SamLearnsAzure.DataMigration.App“, with .Net Core 2.1.
In the new project, we add an “appsettings.json” file, and in the properties (F4), change the “Copy to Output Directory” property to “Copy if newer”, so that the file will be available when compiled. Inside the appsettings.json file, we add some settings we will need later, URL’s to the source data, local temp folders (we need to download the files to a location)

Using NuGet, we added the following packages
- WindowsAzure.Storage: to read and write to Azure Storage
- Microsoft.Extensions.Configuration.Json: to read settings from the appsetting.json file
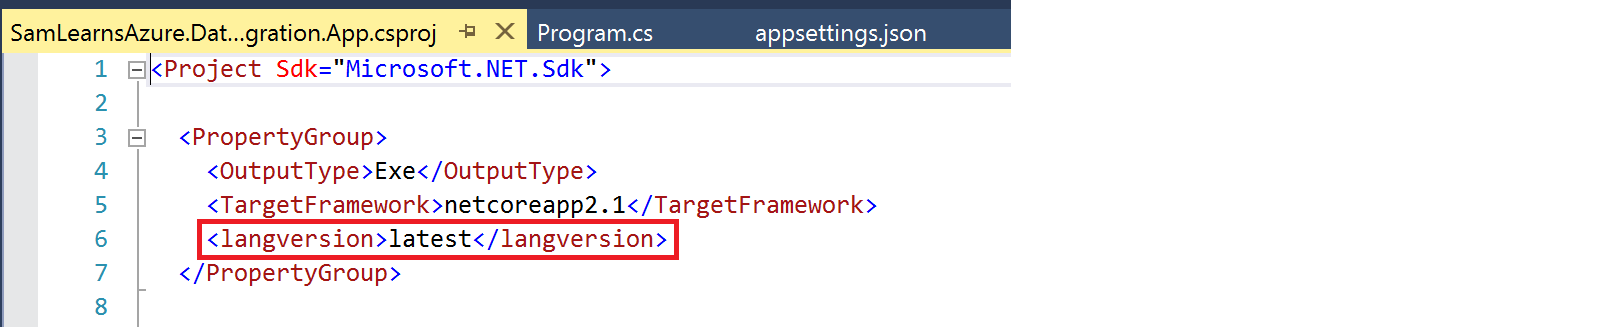
Next we edit the project file, which we do by right clicking on the project and selecting the menu item “Edit SamLearnsAzure.DataMigration.App.csproj”. This opens up the XML for the project file, where we add the line “<langversion>latest</langversion>”. Adding this allows us to use ASync functions in the program.cs main function. This is a known .Net core 2.1 limitation, resolved in .Net Core 2.2.
Next we need to add some classes to do the work for us. We create two classes
- LocalFileManagement.cs: to download the files from the internet and store them in a temp folder before we upload them to Azure
- AzureBlobManagement.cs: to upload the files from our local file system to Azure storage. We also want this class to setup our Azure Storage if required – creating the blob containers needed to upload the CSV files and ZIP files, and list all items in a blob.
We create a new ARM template project for data migration. “SamLearnsAzure.DataMigration.ARMTemplate“, adding a simple Azure Storage resource, and deploying it to a new resource group “SamLearnsAzureCore”. We will add some DevOps around this once we start the pull request, but for now we publish the template to our resource group so that we have an Azure Storage place to upload our files.
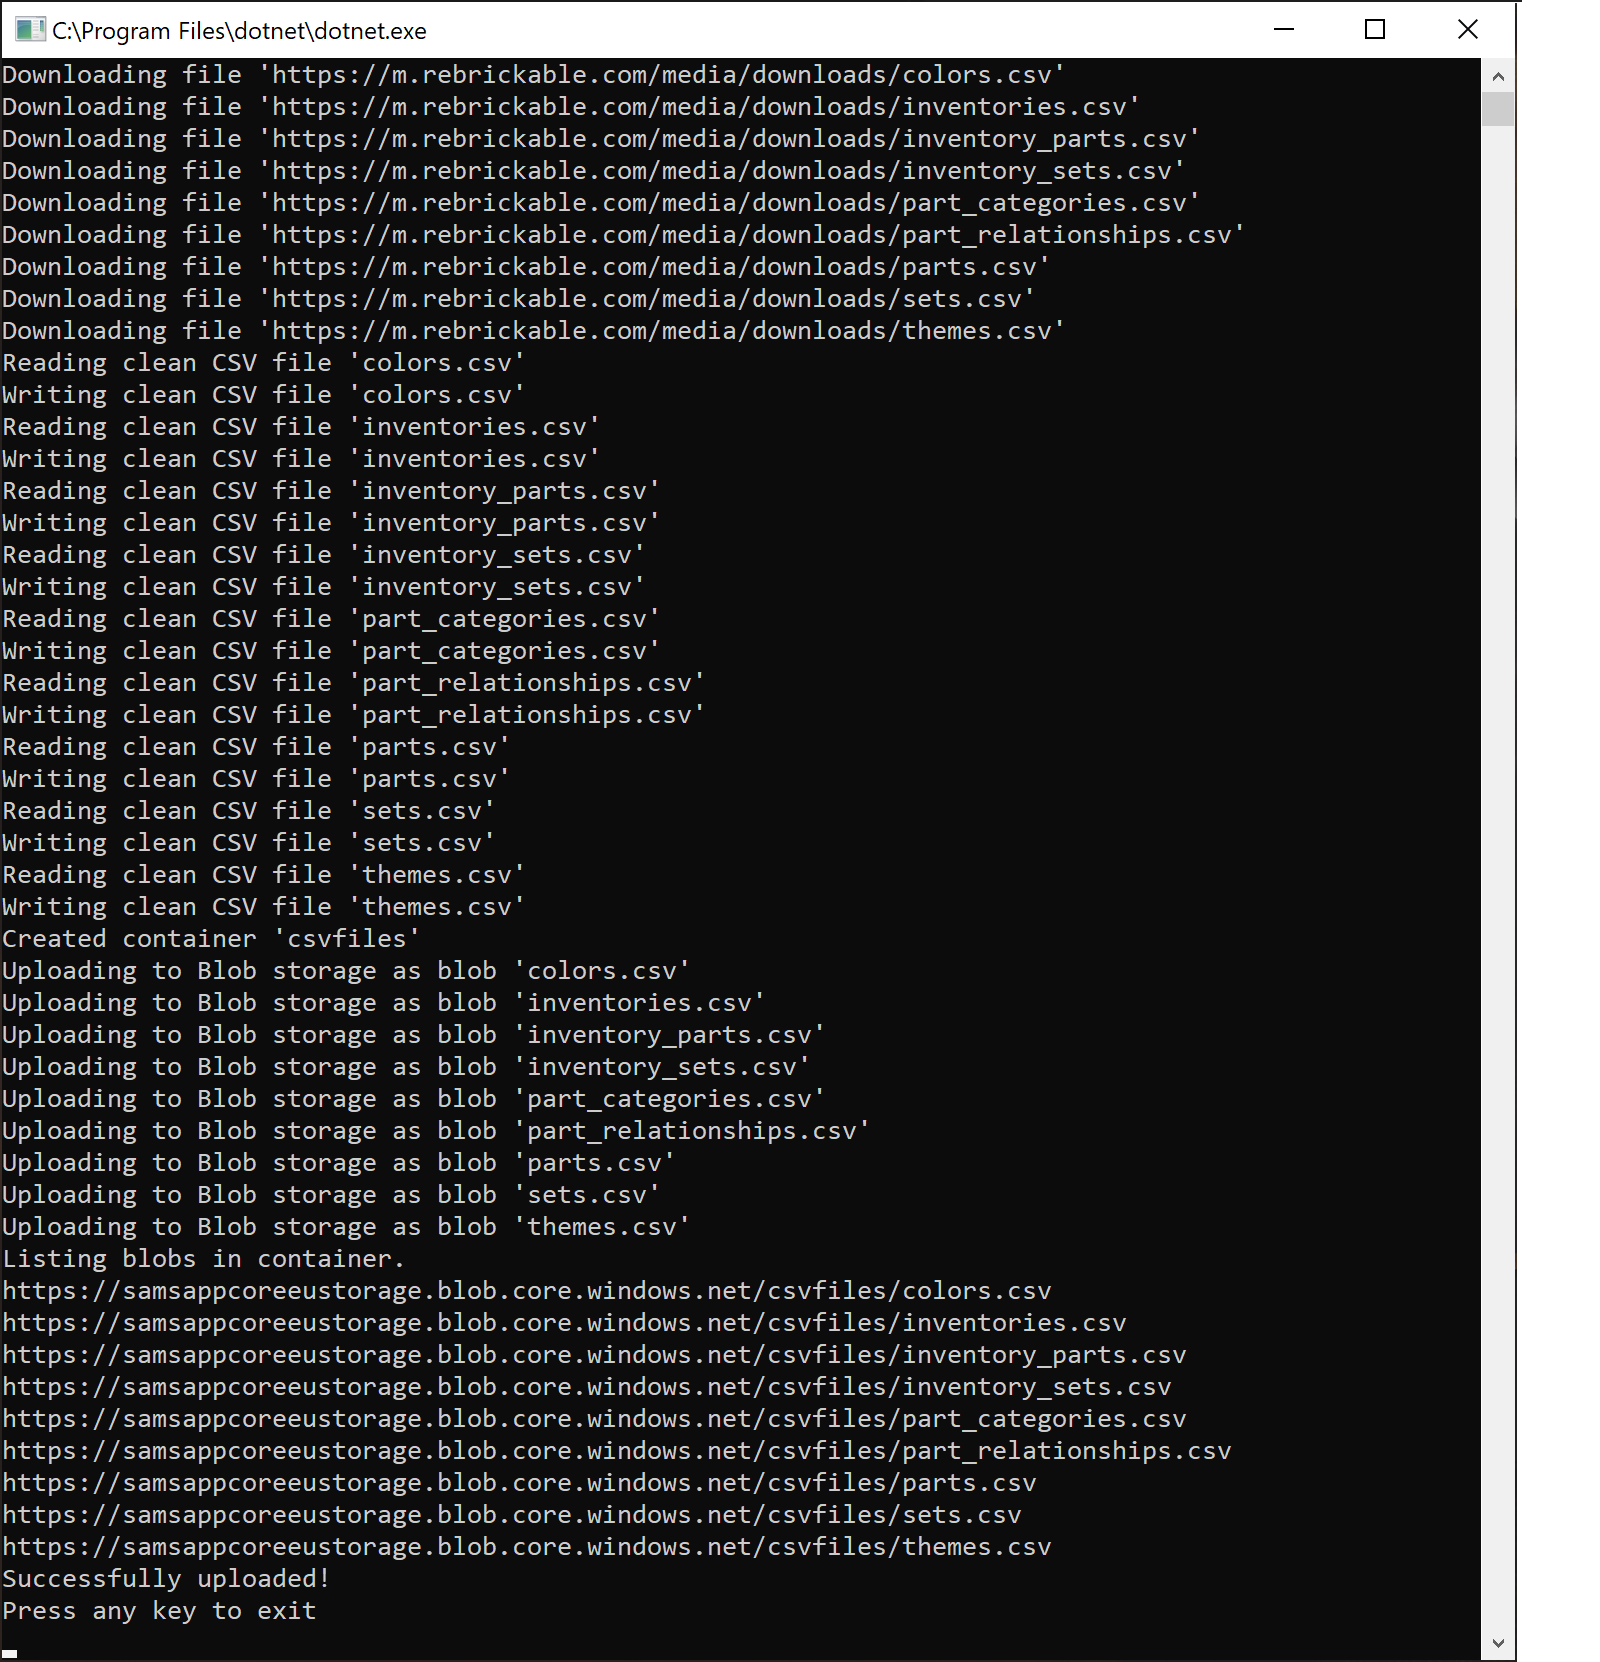
We then spend some time writing the code to download, and then upload the files into the cloud. We will not review the code here, it’s specific to this situation, and not super important to the goal of what we are trying to complete, but the code is here in the repo. The console app is functional, the first few times it takes a few hours to process the 1.3 GB of image files and the 9 CSV files, so we refactor it a bit to upload the images files in their original zip files – we will unzip them with an Azure Logic App or Azure Function later.
At this point we noticed that some of the files had malformed CSV, specifically, the string columns are not wrapped in quotes, (“), with many commas in the data splitting the CSV files with extra columns. We write a CSV cleaning function in our app to loop through the data and wrap strings in quotes. We also use this moment to translate some bit columns from using “t” and “f” to “true” and “false”, which we know will be easier to process later. Data cleaning is always really time consuming – which was the case here. Our app is done, and is successfully downloading, cleaning/processing our files and uploading them back again.
Creating the Azure Data Factory
Now we are going to add a data factory. A data factory processes data in a workflow with an item called “activity”. A “activity” maps an input dataset and an output dataset. We will use our data factory to read the CSV files from our Azure Storage to our Azure SQL Databases.
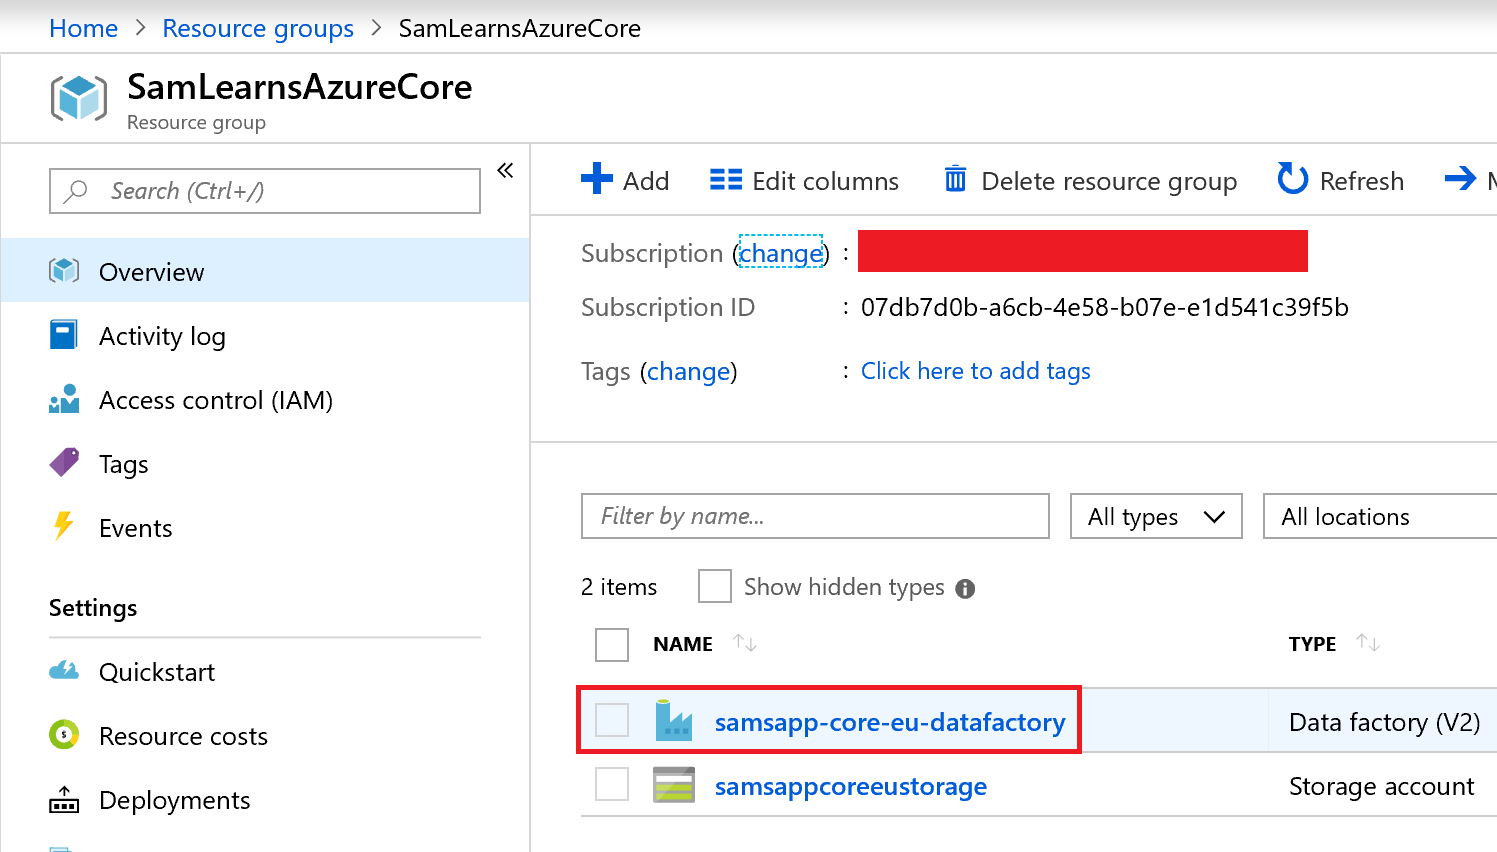
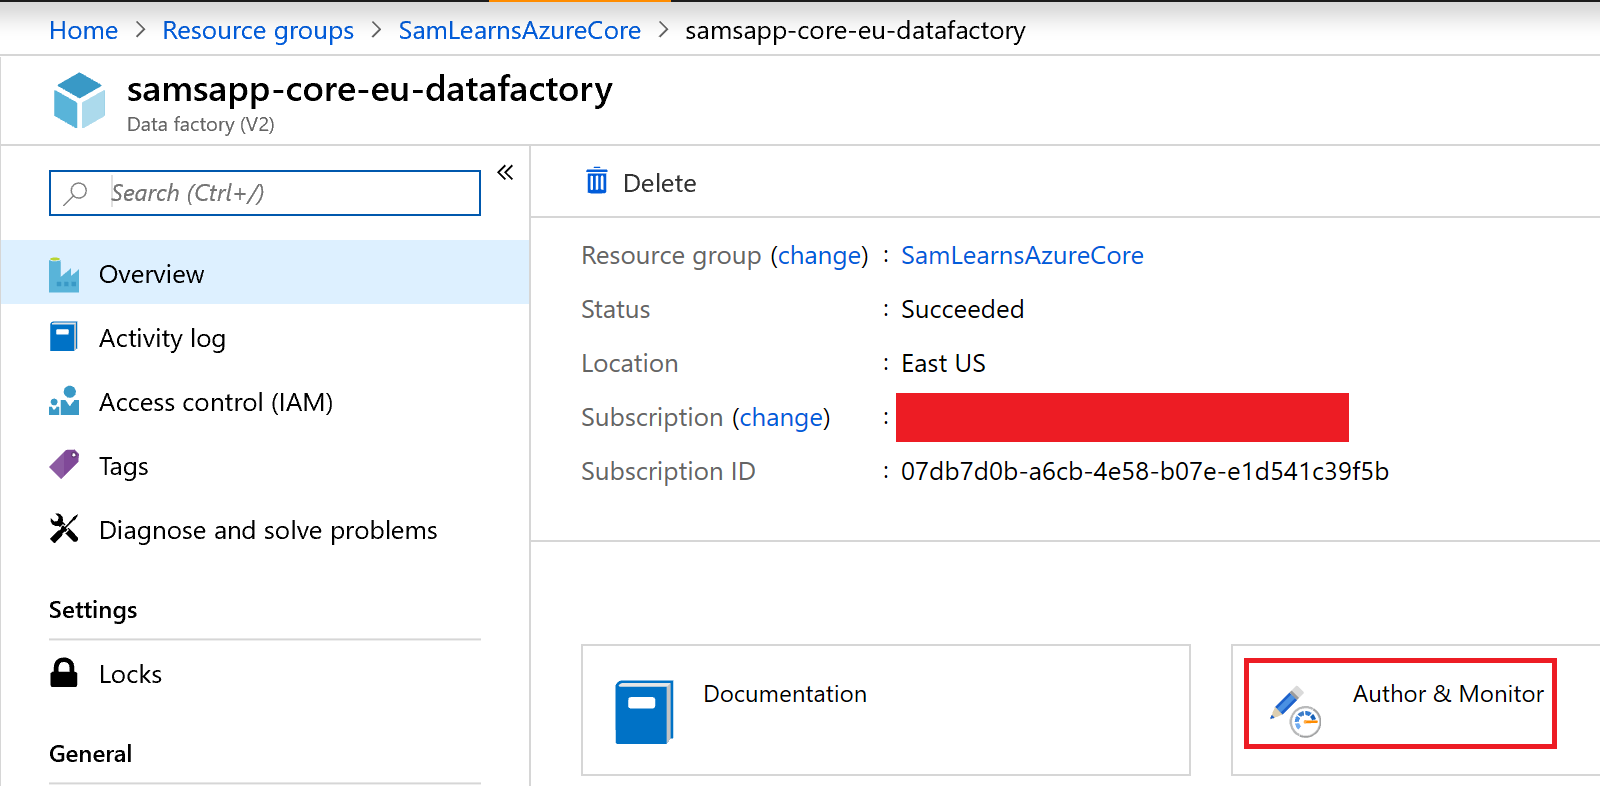
We are adding our data factory it our core resource group, because it’s a one off and we don’t need one for each environment. In our Azure Portal, we browse to our Resource Group “SamLearnsAzureCore”, and add a new resource “Data Factory” to the resource group, naming the data factory “samsapp-core-eu-datafactory”.

We can see the resource group with our data factory in it here. We click on the data factory to open it.
Next we click on the “Author & Monitor” link to be able to edit the pipelines.
This brings us to the “Let’s get started” page, where we click the giant “Create Pipeline” button to create a new pipeline. The pipeline allows us to setup a series of steps, each of which has a source (input) and destination (output).
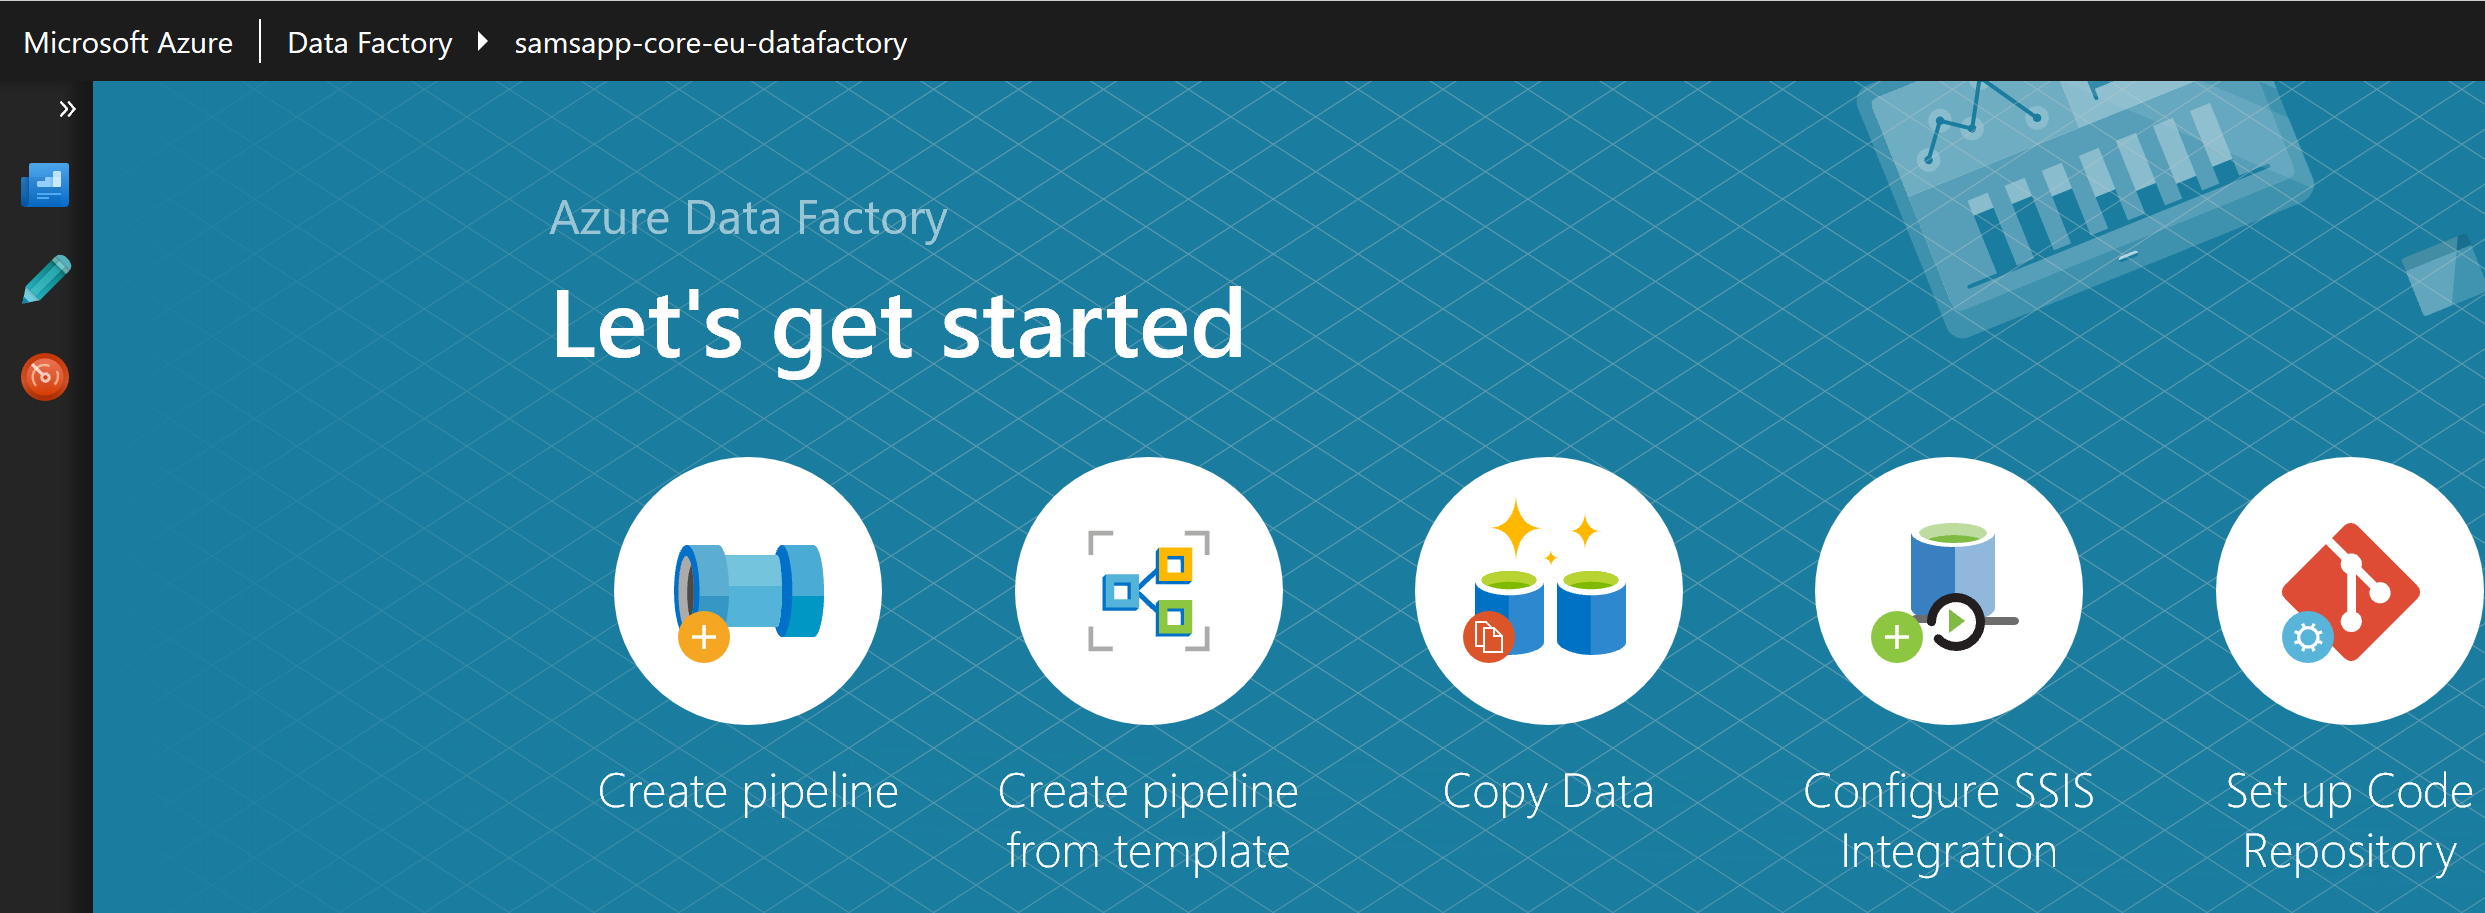
This is the real home page. There are two main sections, pipelines and dataSets – we won’t talk about the “Data Flows” preview yet.
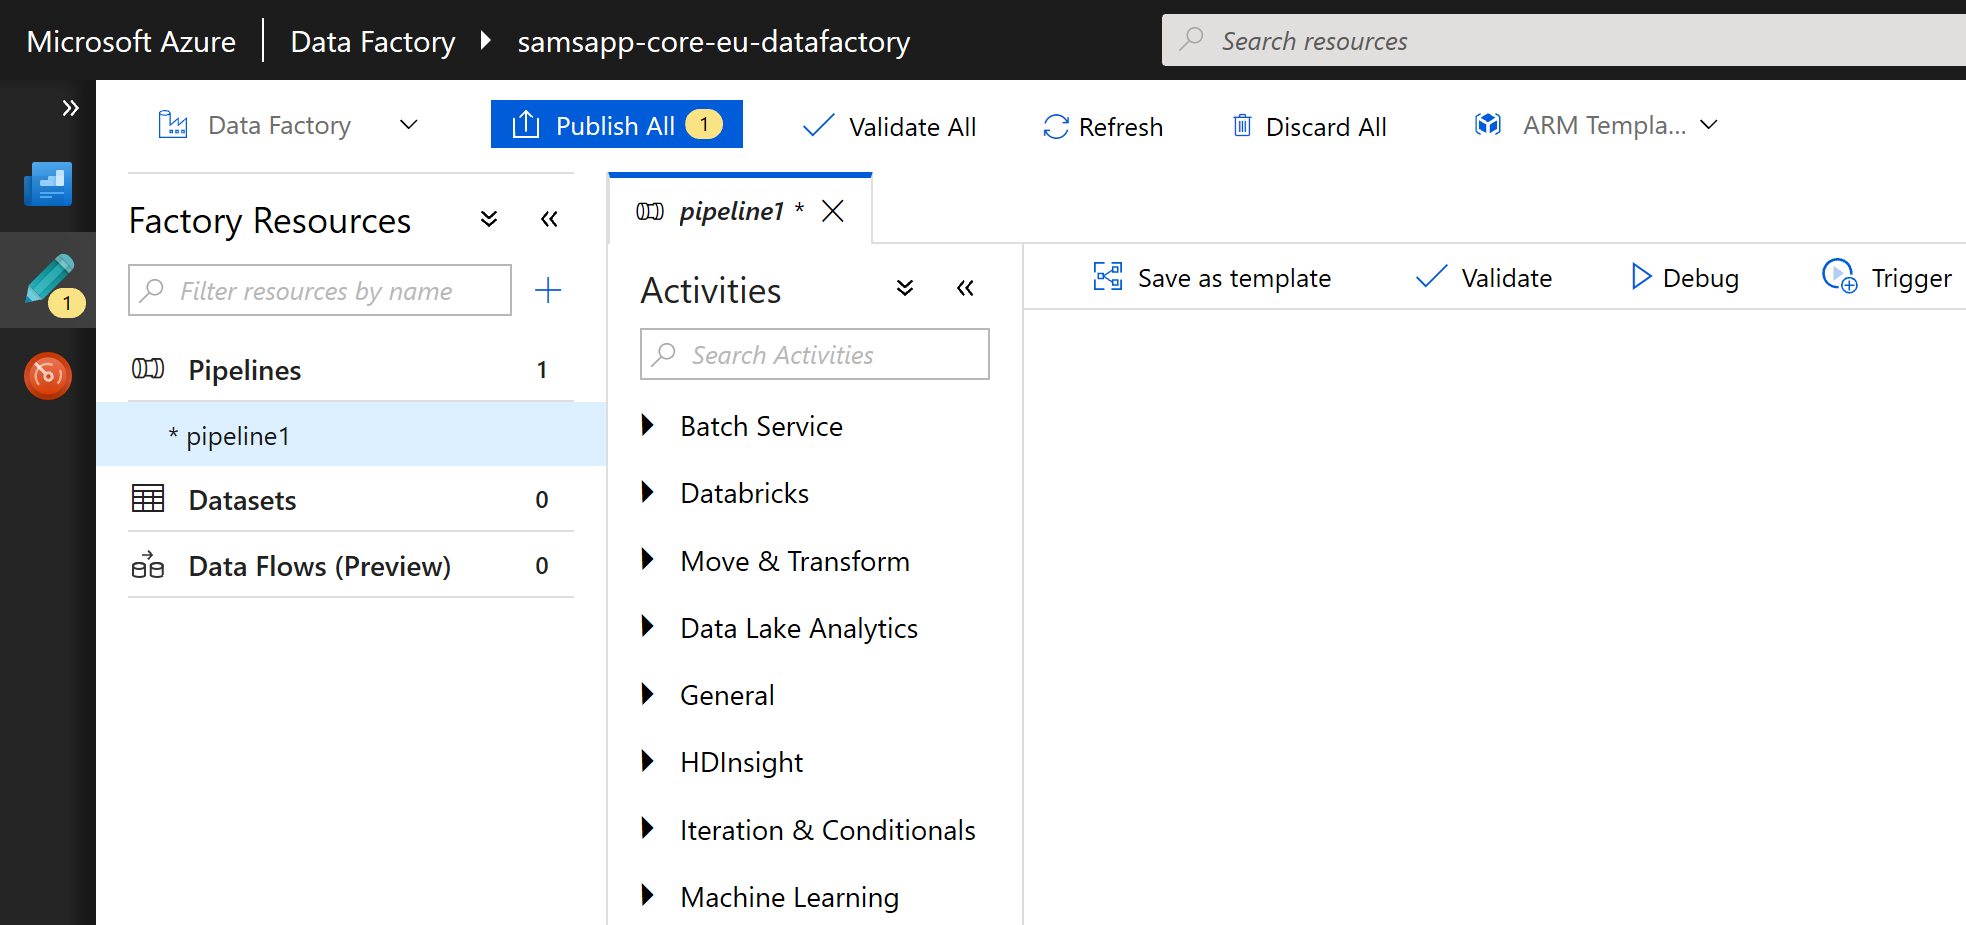
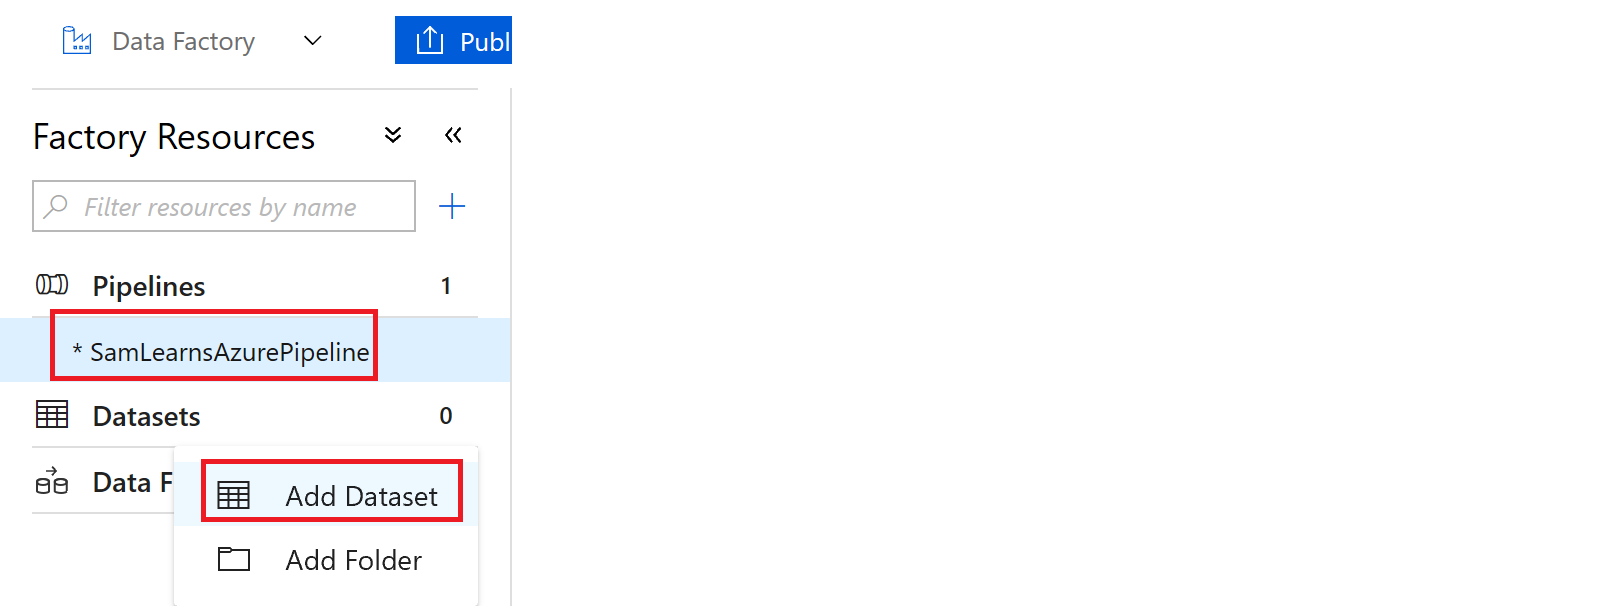
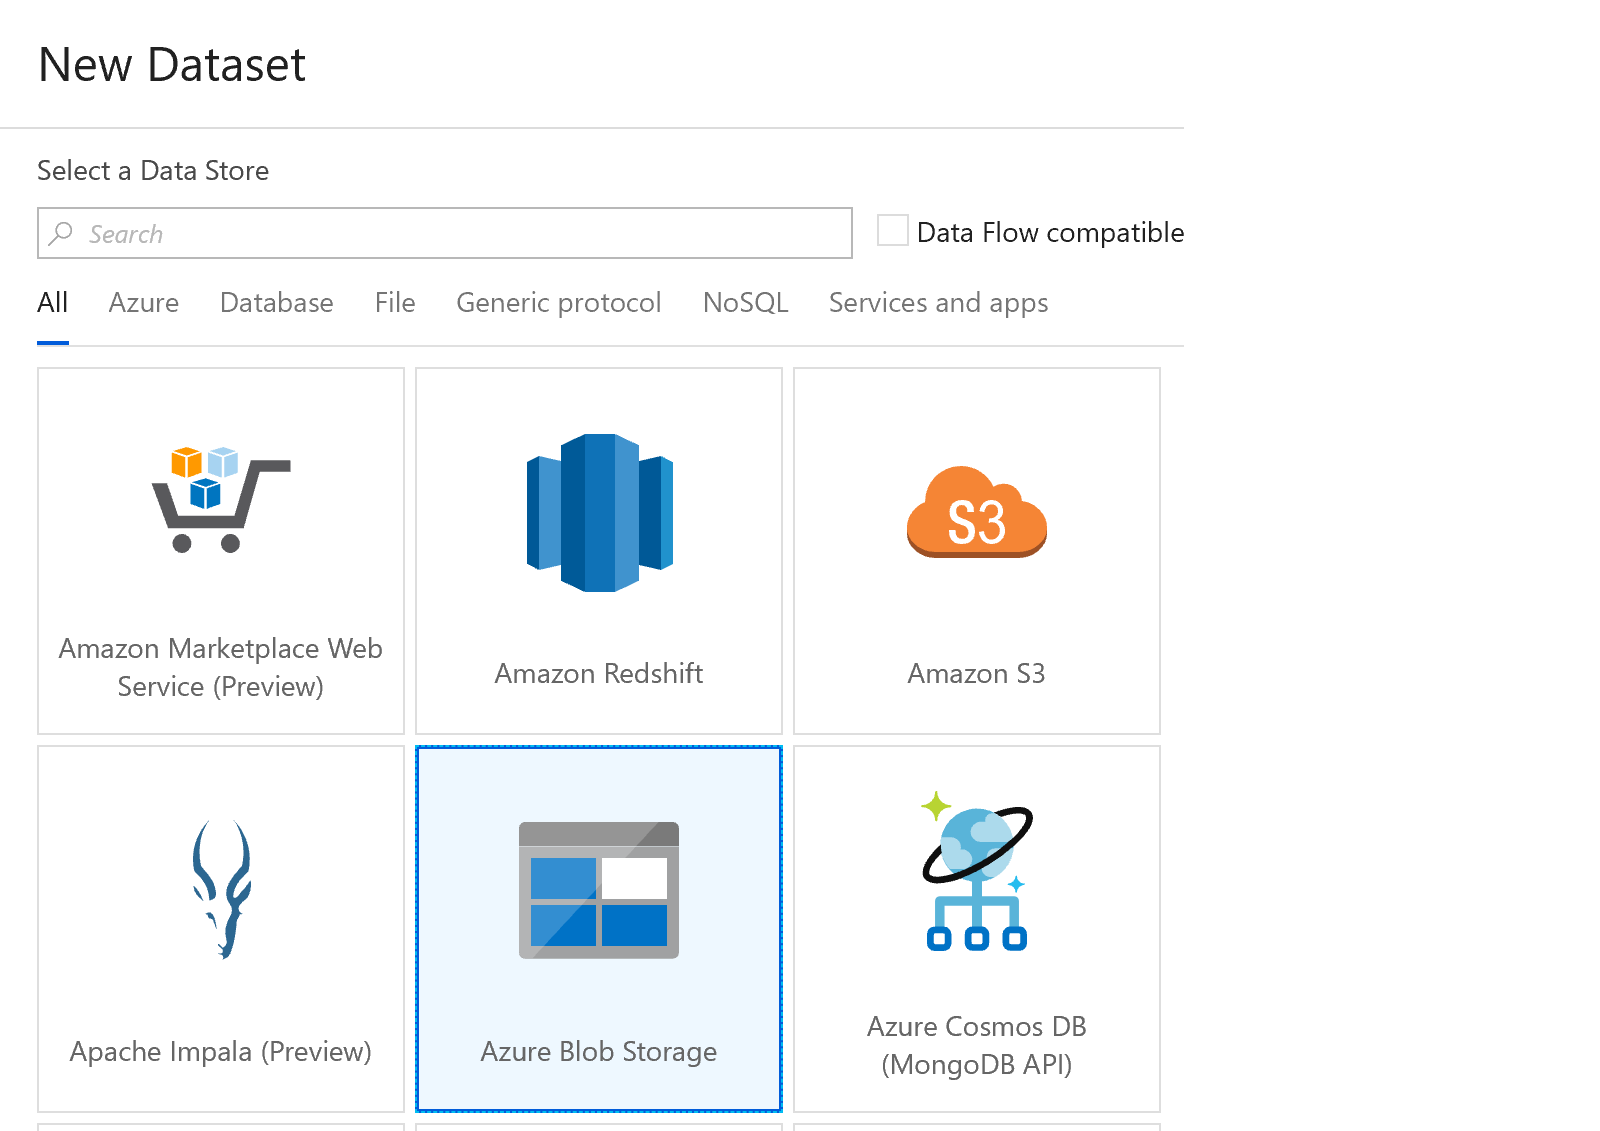
First we are going to rename our pipeline, and add our first dataset to read data from our CSV files. We add datasets by clicking on the ellipse (the three dots) to the right of the Datasets title, and select “Add Dataset”
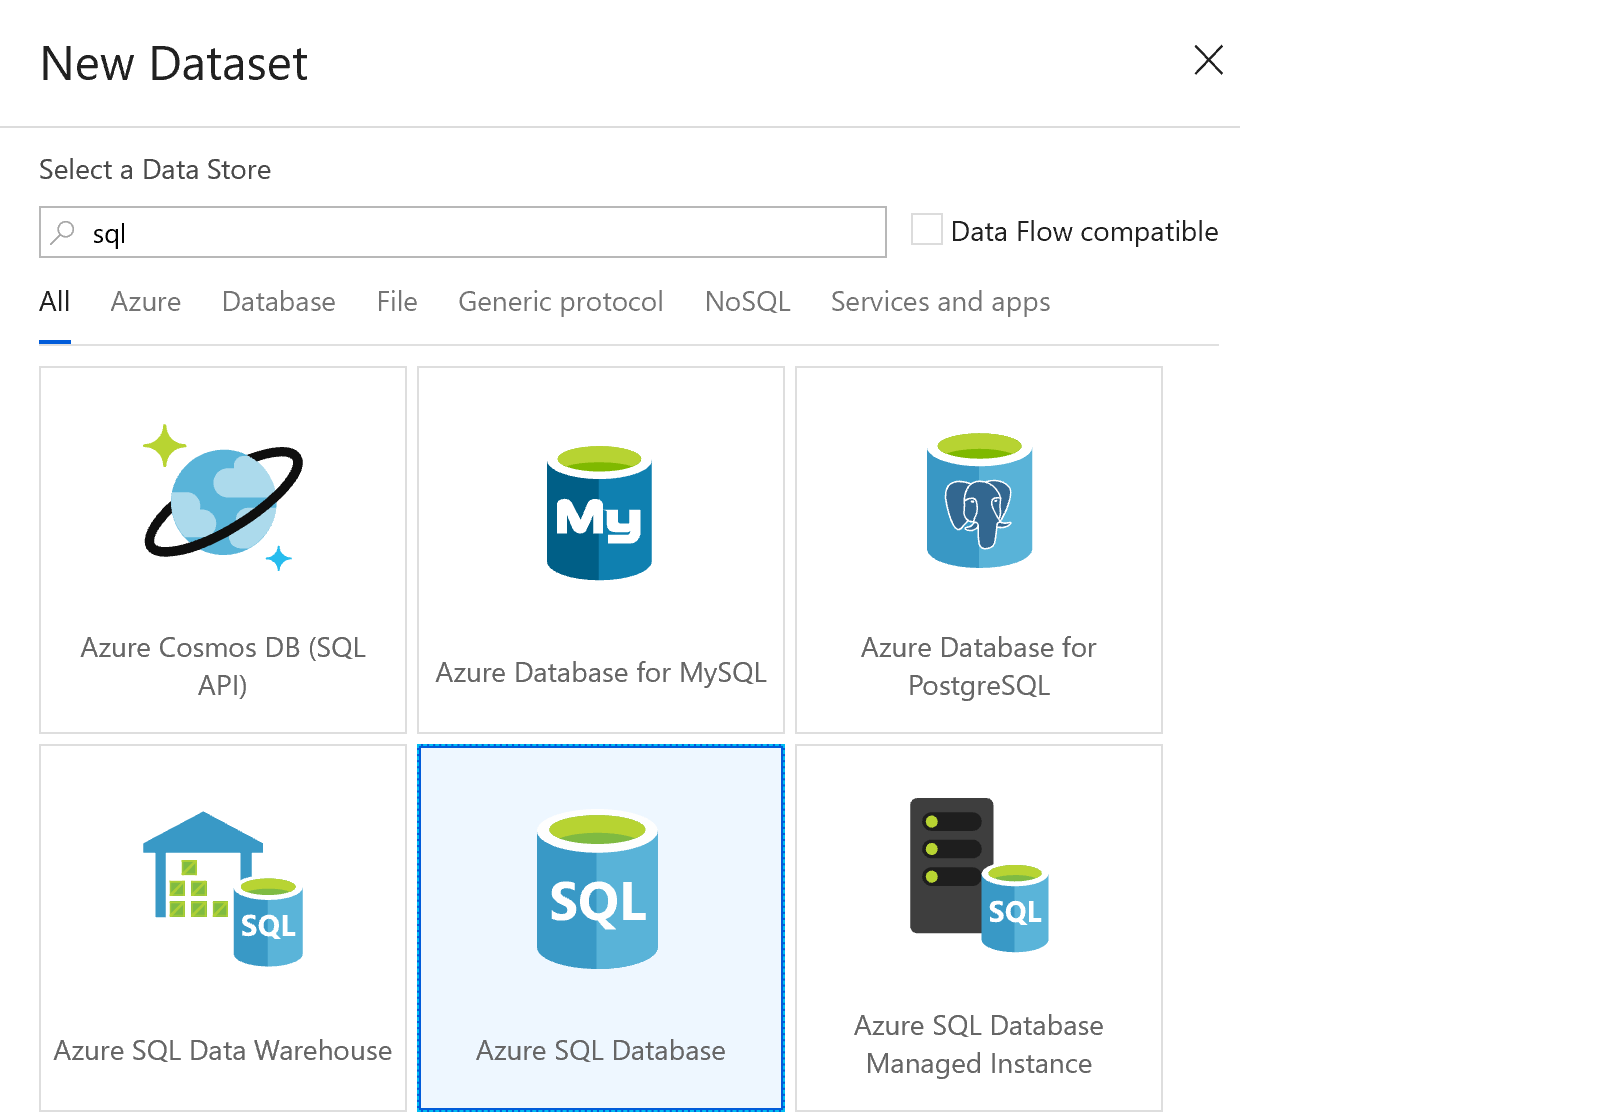
Now we select the dataset template. We need to create a “source” to read in each dataset, so we select “Azure Blog Storage” first. There are so many templates available here for any and every type of data source.
We rename the dataset to “SourceThemes”

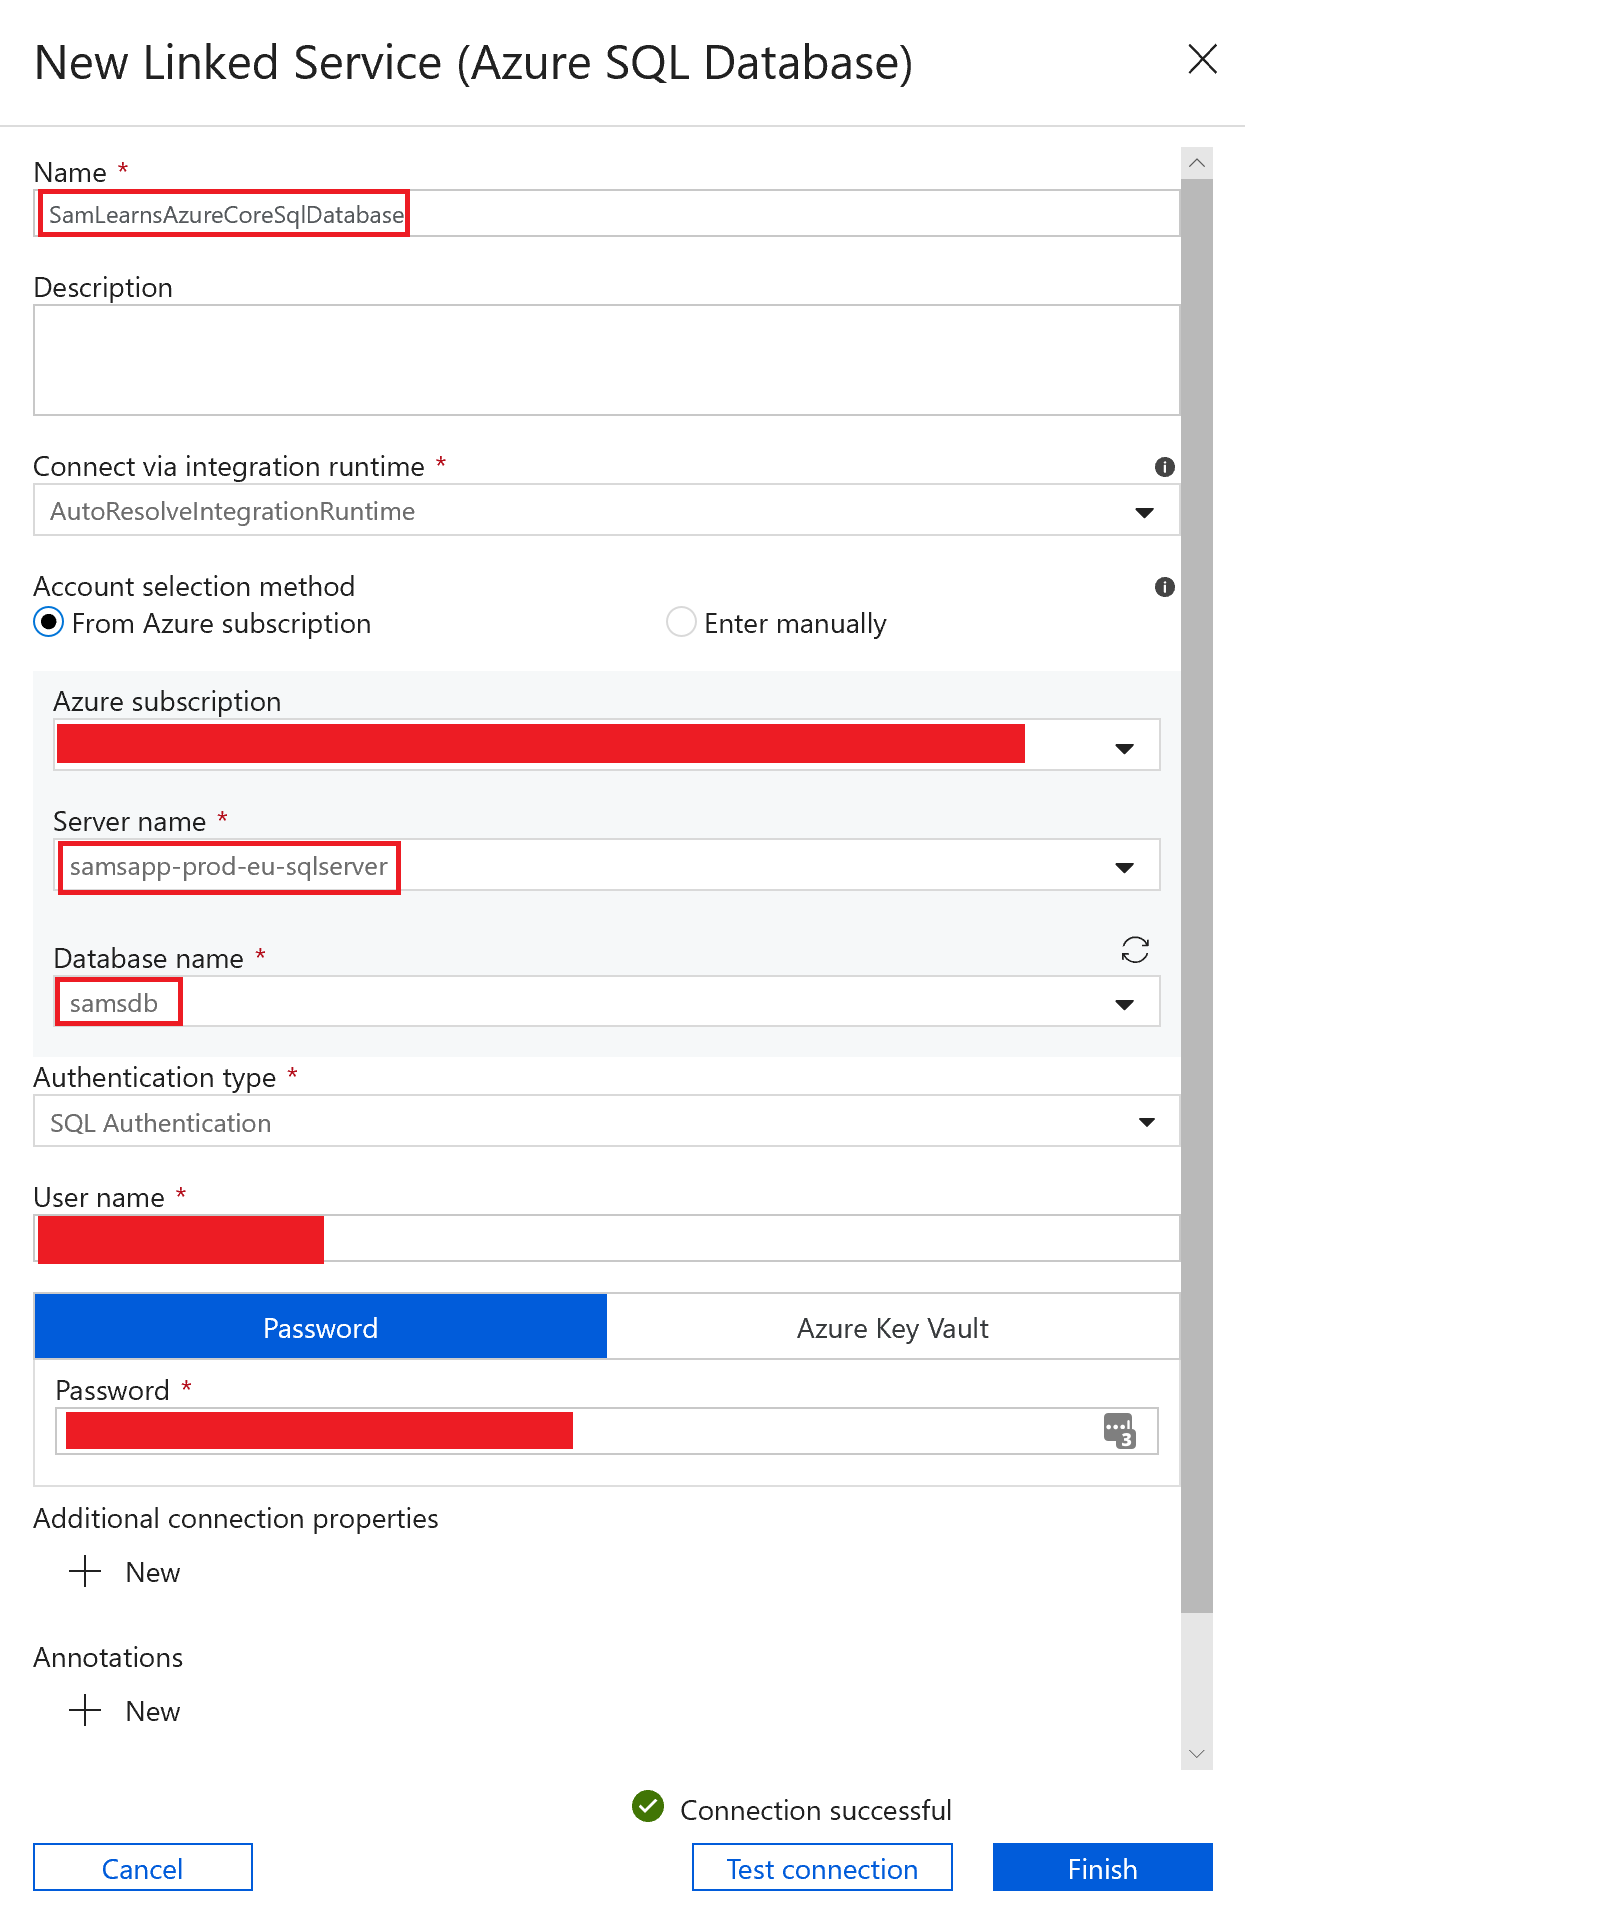
In the connection tab, we create a new “linked service”.
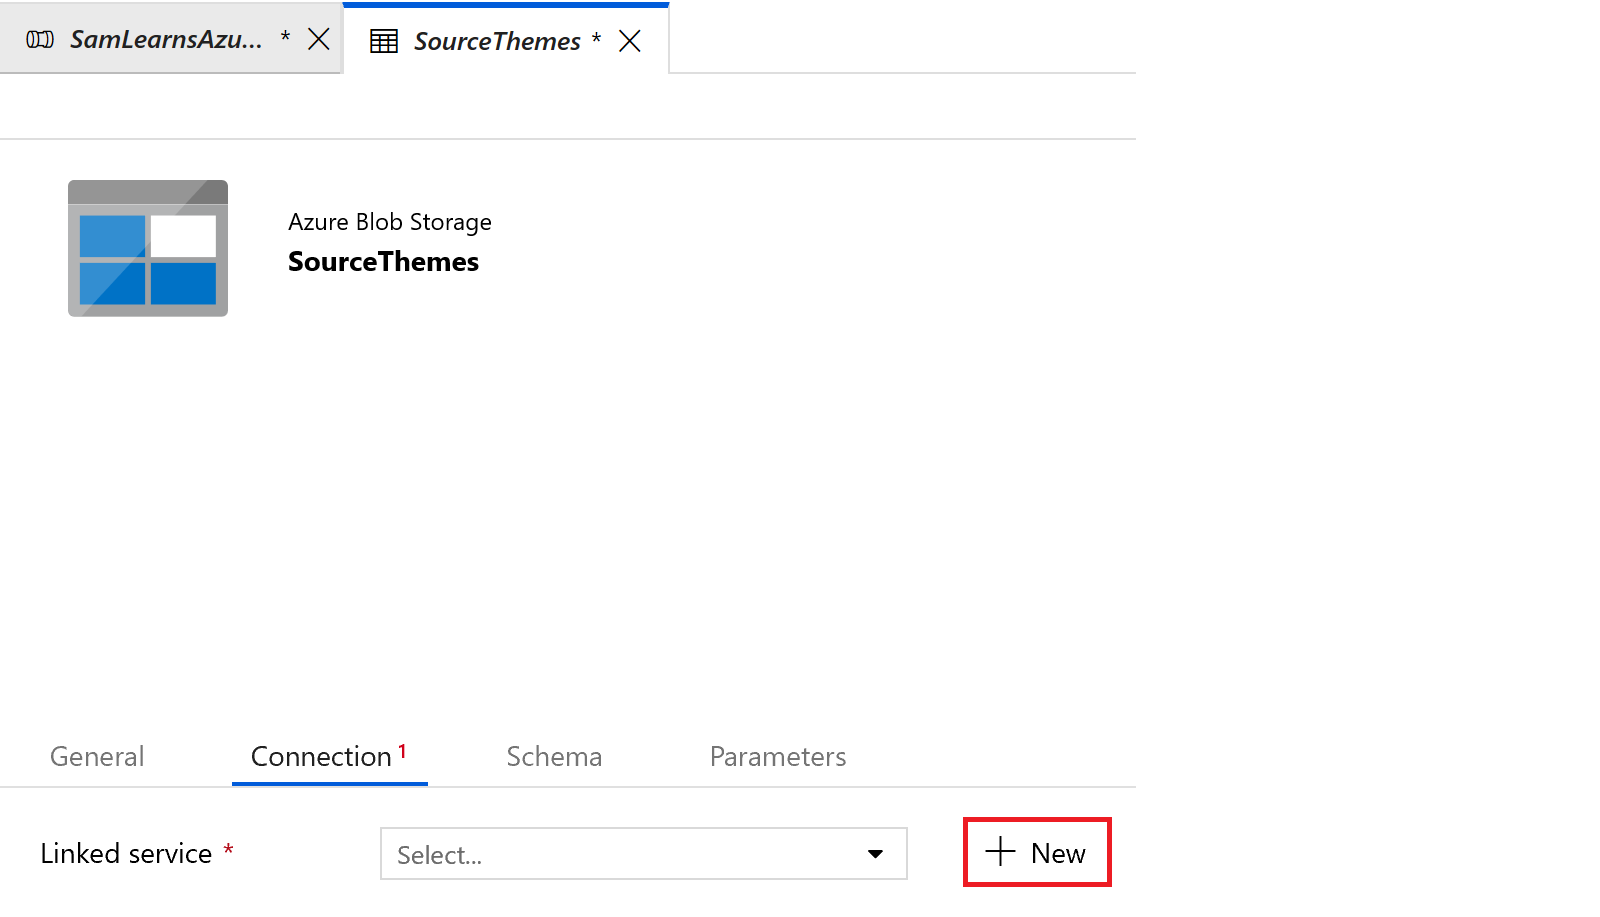
In the linked service, we name it “SamLearnsAzureCoreBlogStorage” – this will be our connection to our storage blob. We enter in the correct subscription and storage account name, and press the finish button to create it. We will use this “linked service” to the Azure Storage Blob for all of our source datasets.

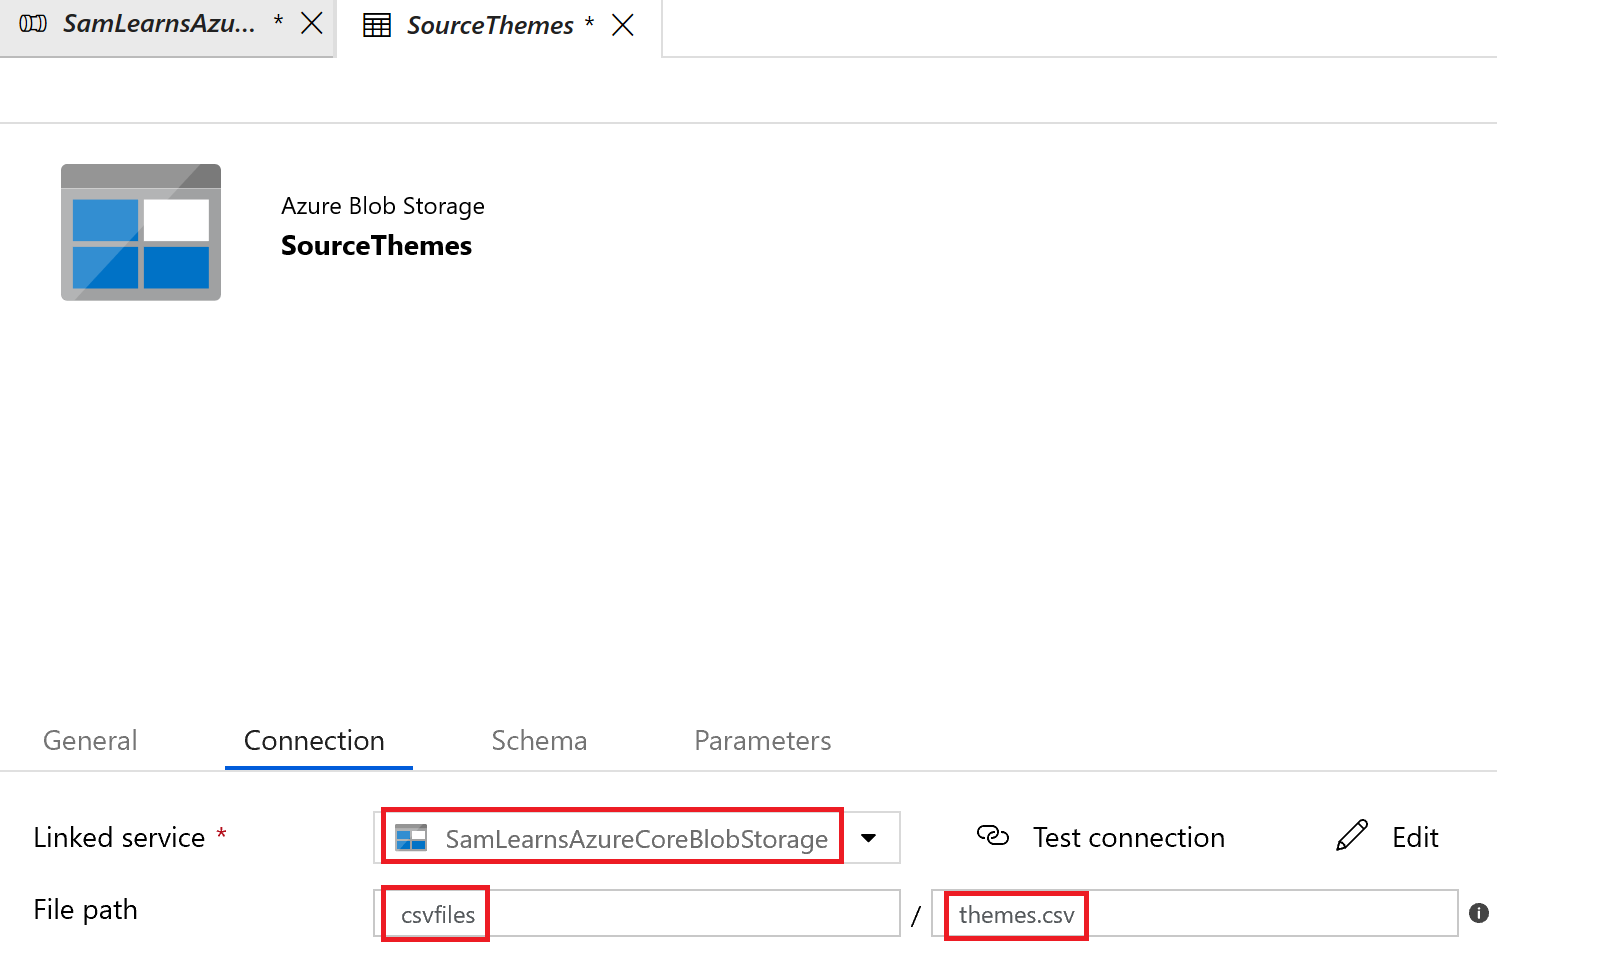
Back in the connect tab, we select our newly created “linked service”, and add a file path to “csvfiles” and file name “themes.csv”, a file in our storage blob. While not in the screenshot, we specify ” as the quote character for strings, and remove the null character delimiter, which the CSV parser cannot handle if the last column has a blank (null) value.
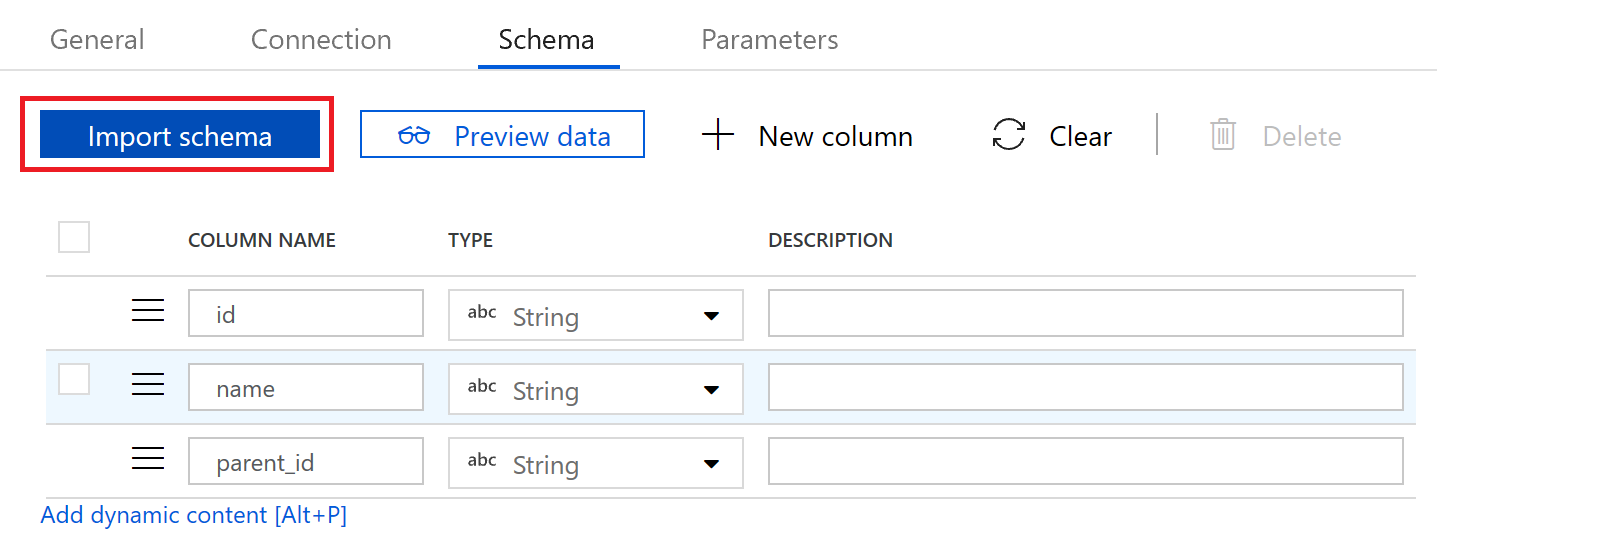
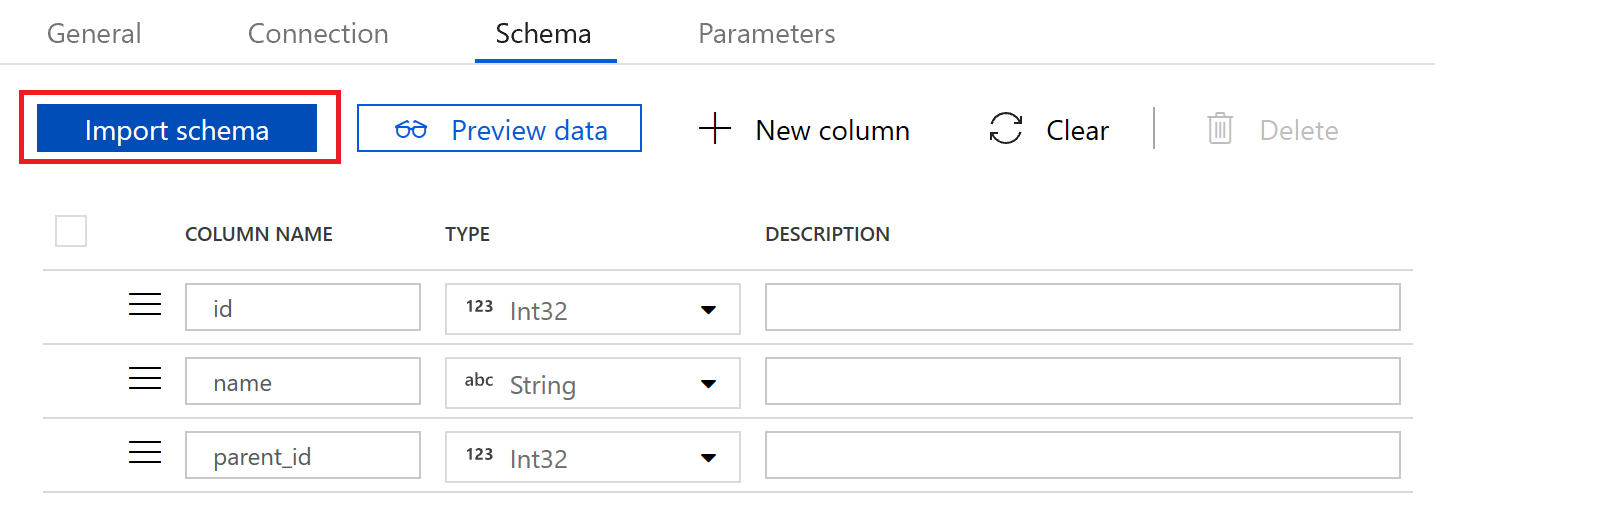
In the schema tab, we press the “import schema” button to bring in column names and column types. Our source dataset is done
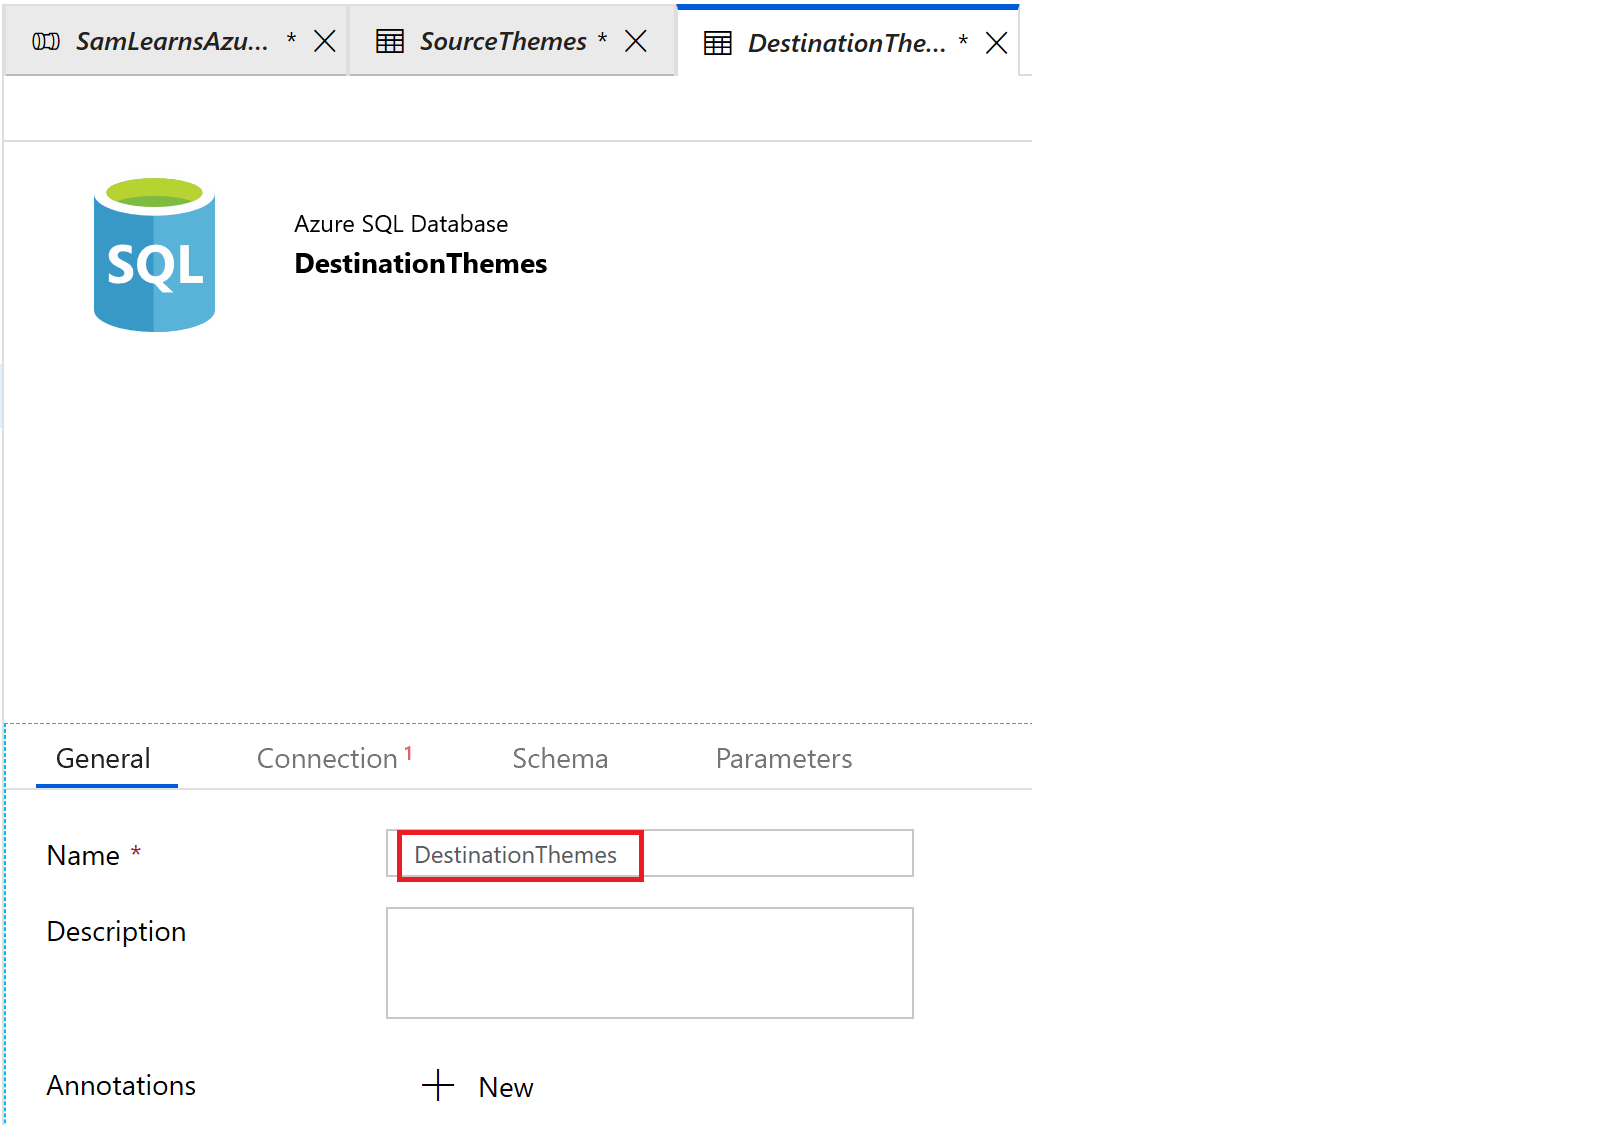
Now we can create destination dataset. We create a new dataset, selecting the “Azure SQL database” template.
Similar to our source dataset, we rename our destination dataset to describe it’s purpose and data.
Then on the connection tab, we create a new “linked service” and connect to our production database, with the user and password we are already using.
With the new “linked service” created, we select it, and specify the table we are going to load our data into, “dbo.themes”.

On the schema tab, we use the “import schema” button again to bring in our column names and types.
Now we are ready to create an activity. We switch back to our pipeline and add a “Copy Data” activity, by dragging and dropping it into the right canvas, from the “Move & Transform” category. Again, you can see the volume of different activities here – anything you need to do can be supported here.
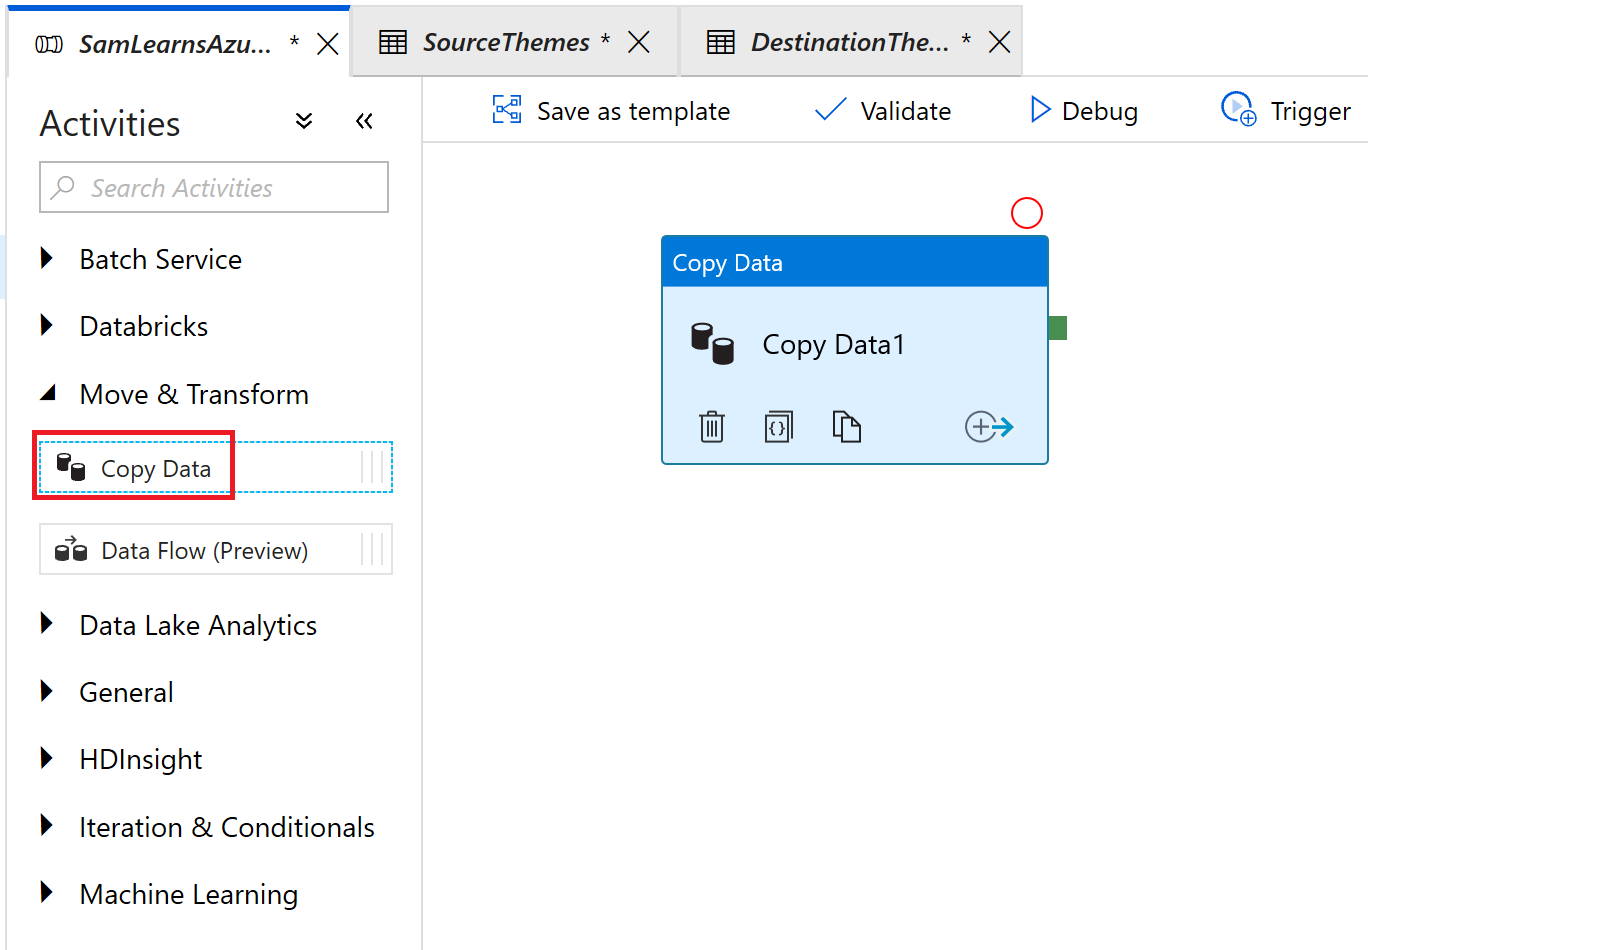
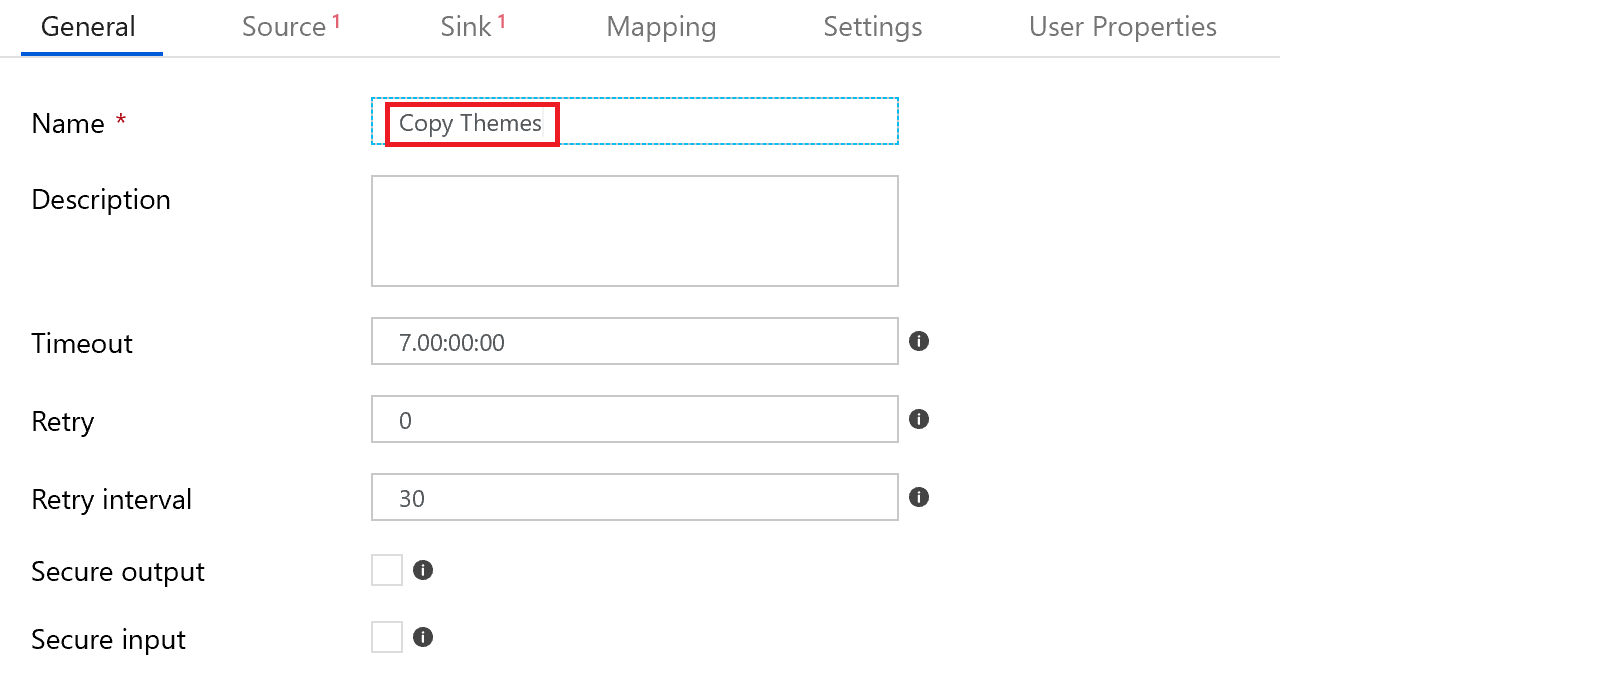
Following similar steps to before, we first describe it’s purpose and data, naming it “Copy Themes”
Then on the source tab, we select the “SourceThemes” dataset.

In the “sink” tab, (why it’s not called destination we don’t know), we add the “DestinationThemes” dataset.

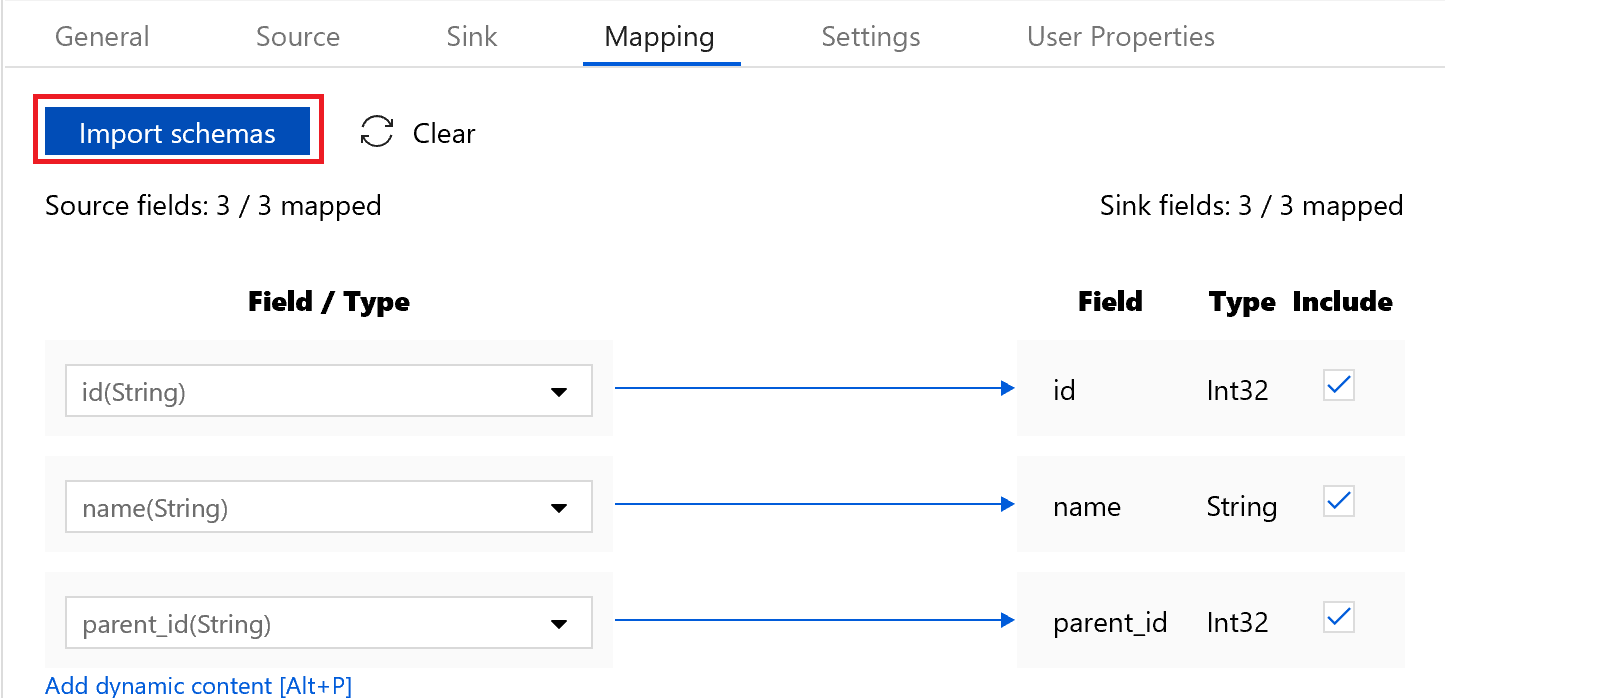
Then on the “Mapping” tab, we click the “Import Schemas” button to bring in the source and sink fields – ensuring they match up, and in this case, there are 3/3 fields on both sides of the equation.
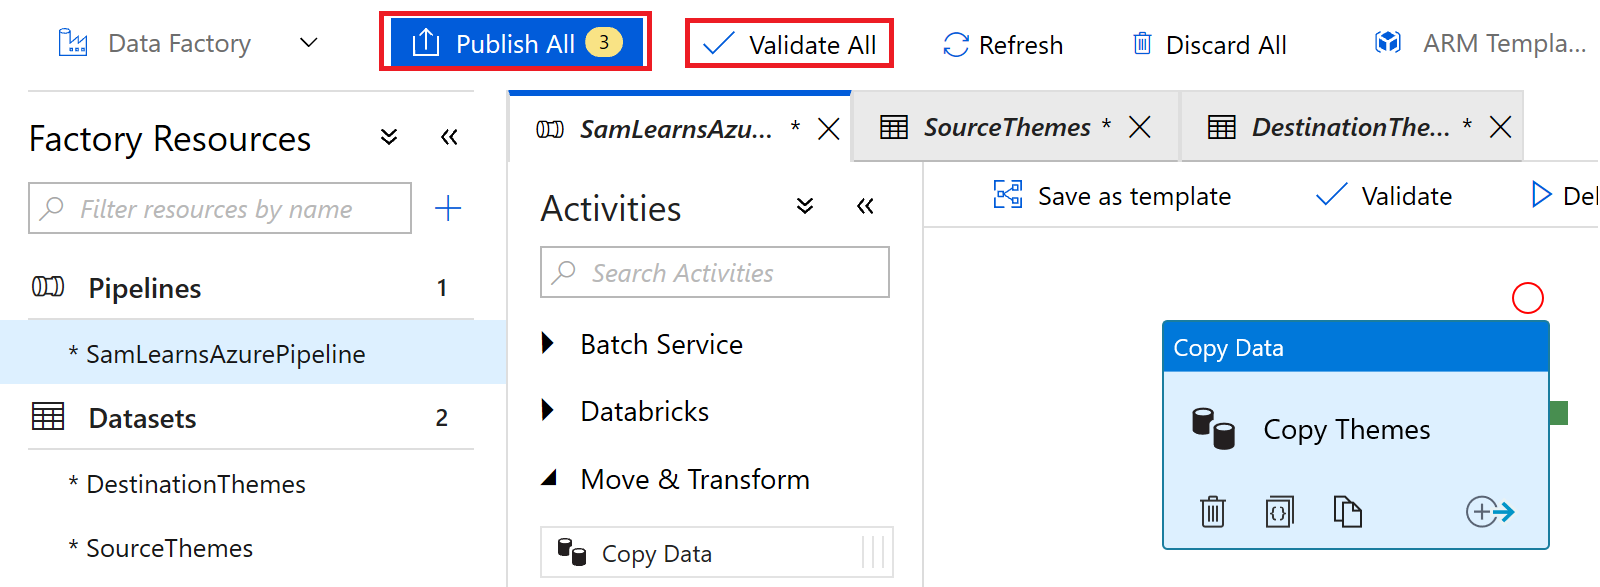
Everything looks good, so we click the “Validate All” button to confirm our code is not breaking any rules, and then the “Publish All” button to save and publish our data factory.
Then in the main pipeline window, we press the “debug” button to start the pipeline.

The completed output finished a minute later – success! We have setup a basic workflow.

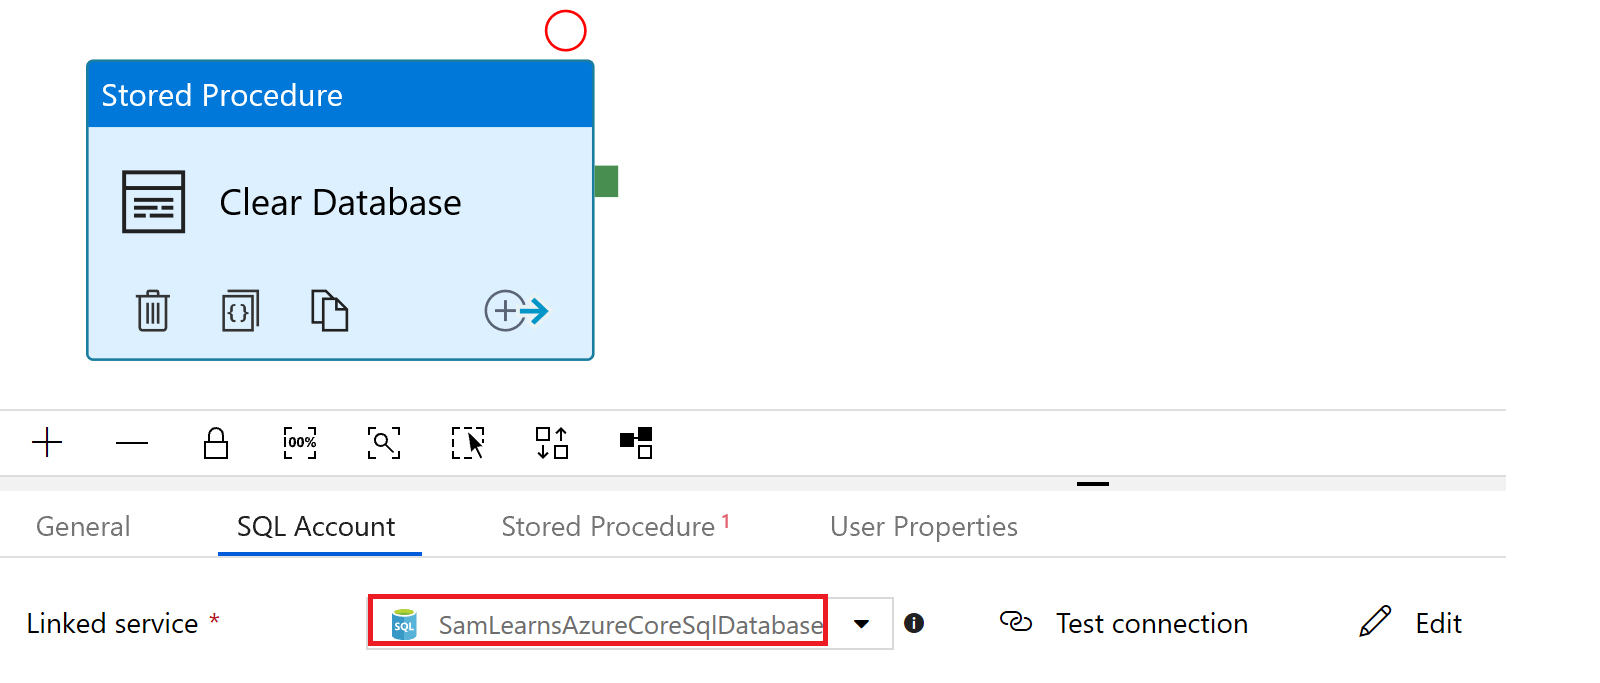
There is a little problem. If we run the pipeline again, we will receive primary key errors – we need to add a “Clear Database” activity, where we run a stored procedure that deletes all rows from the tables we are loading – remember, we need to make all DevOps repeatable – even if it’s short term process like this. We create the new activity.
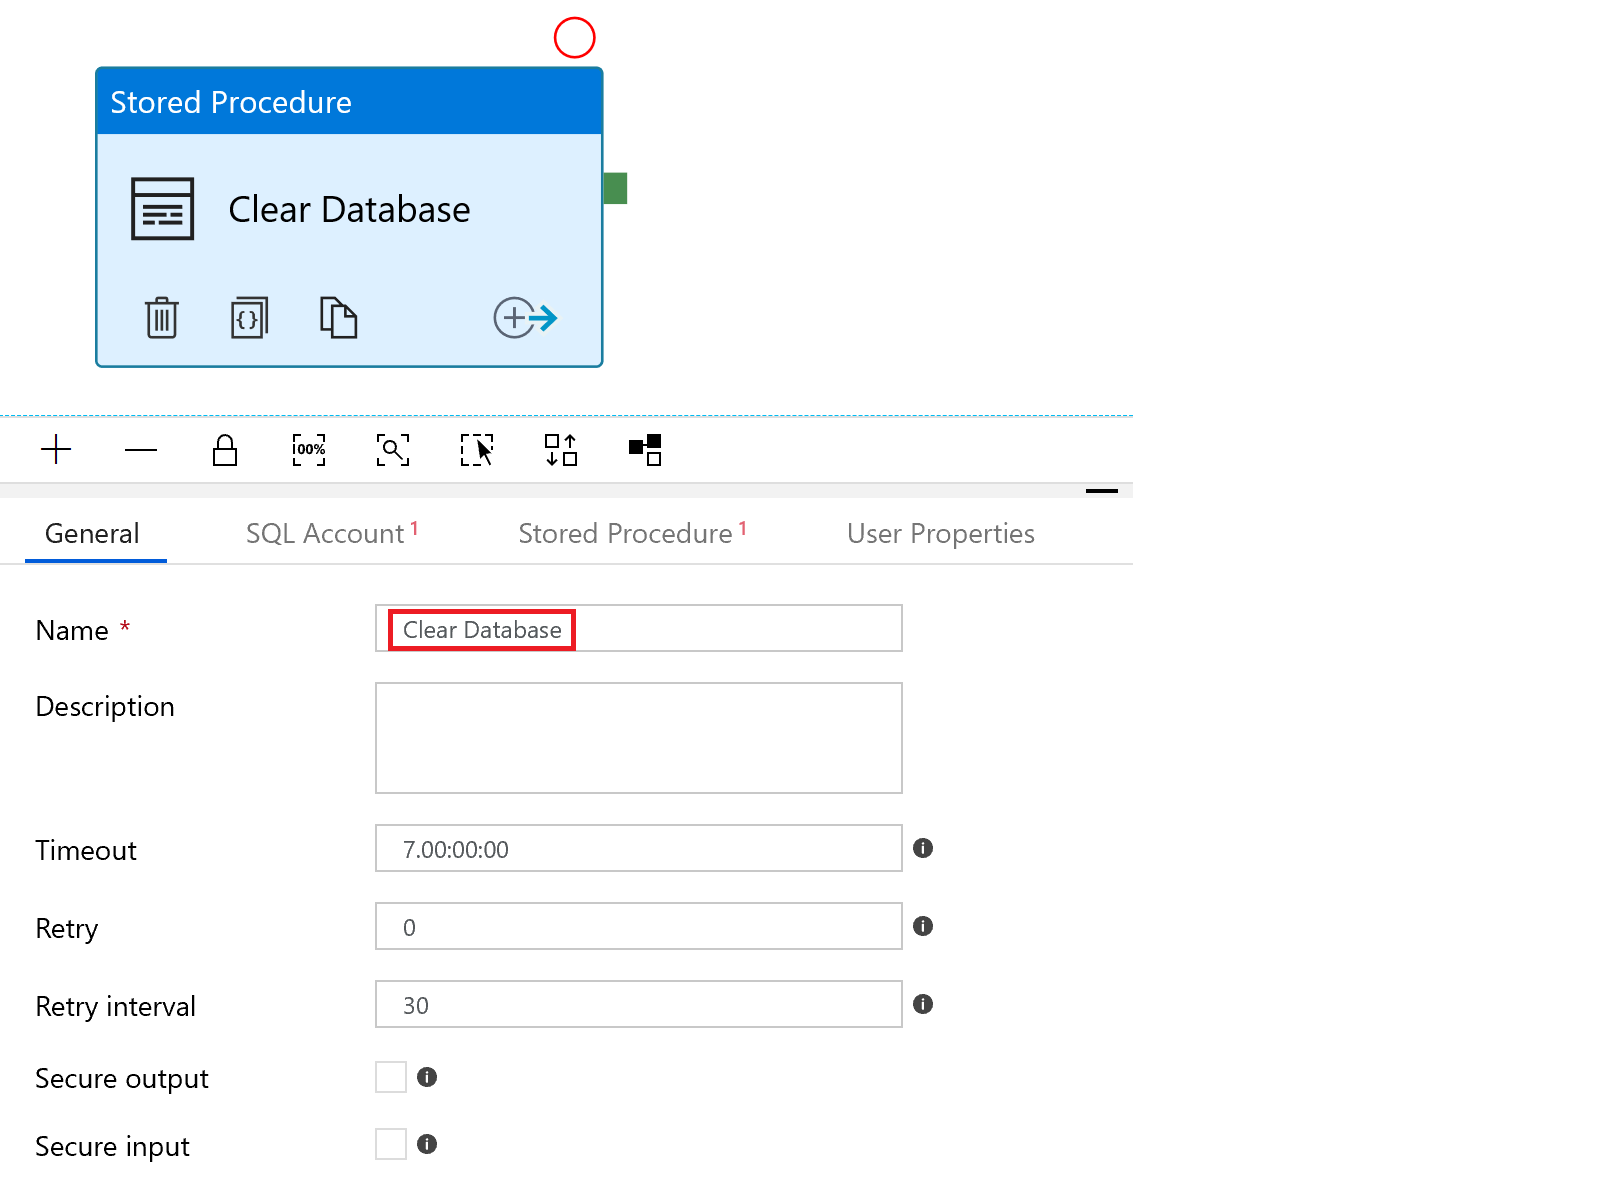
In the “SQL Account” tab, we specify the database connection, using the connection we already created for our destination tasks
And then add the reference to the stored procedure

To complete our pipeline, we need to create a link – when “Clear Database” completes successfully, we will start “Copy themes”. We can create this by selecting the green box to the right of the activity and dragging it to the next activity. This is very powerful, as we can right click on this link and change the criteria from “successful” to “failed”, “completed”, or “skipped”. This allows us to create entire workflows. If a task fails, we could have a separate set of steps to clean up our migration. We don’t these failure steps today, but it’s good to know they exist.

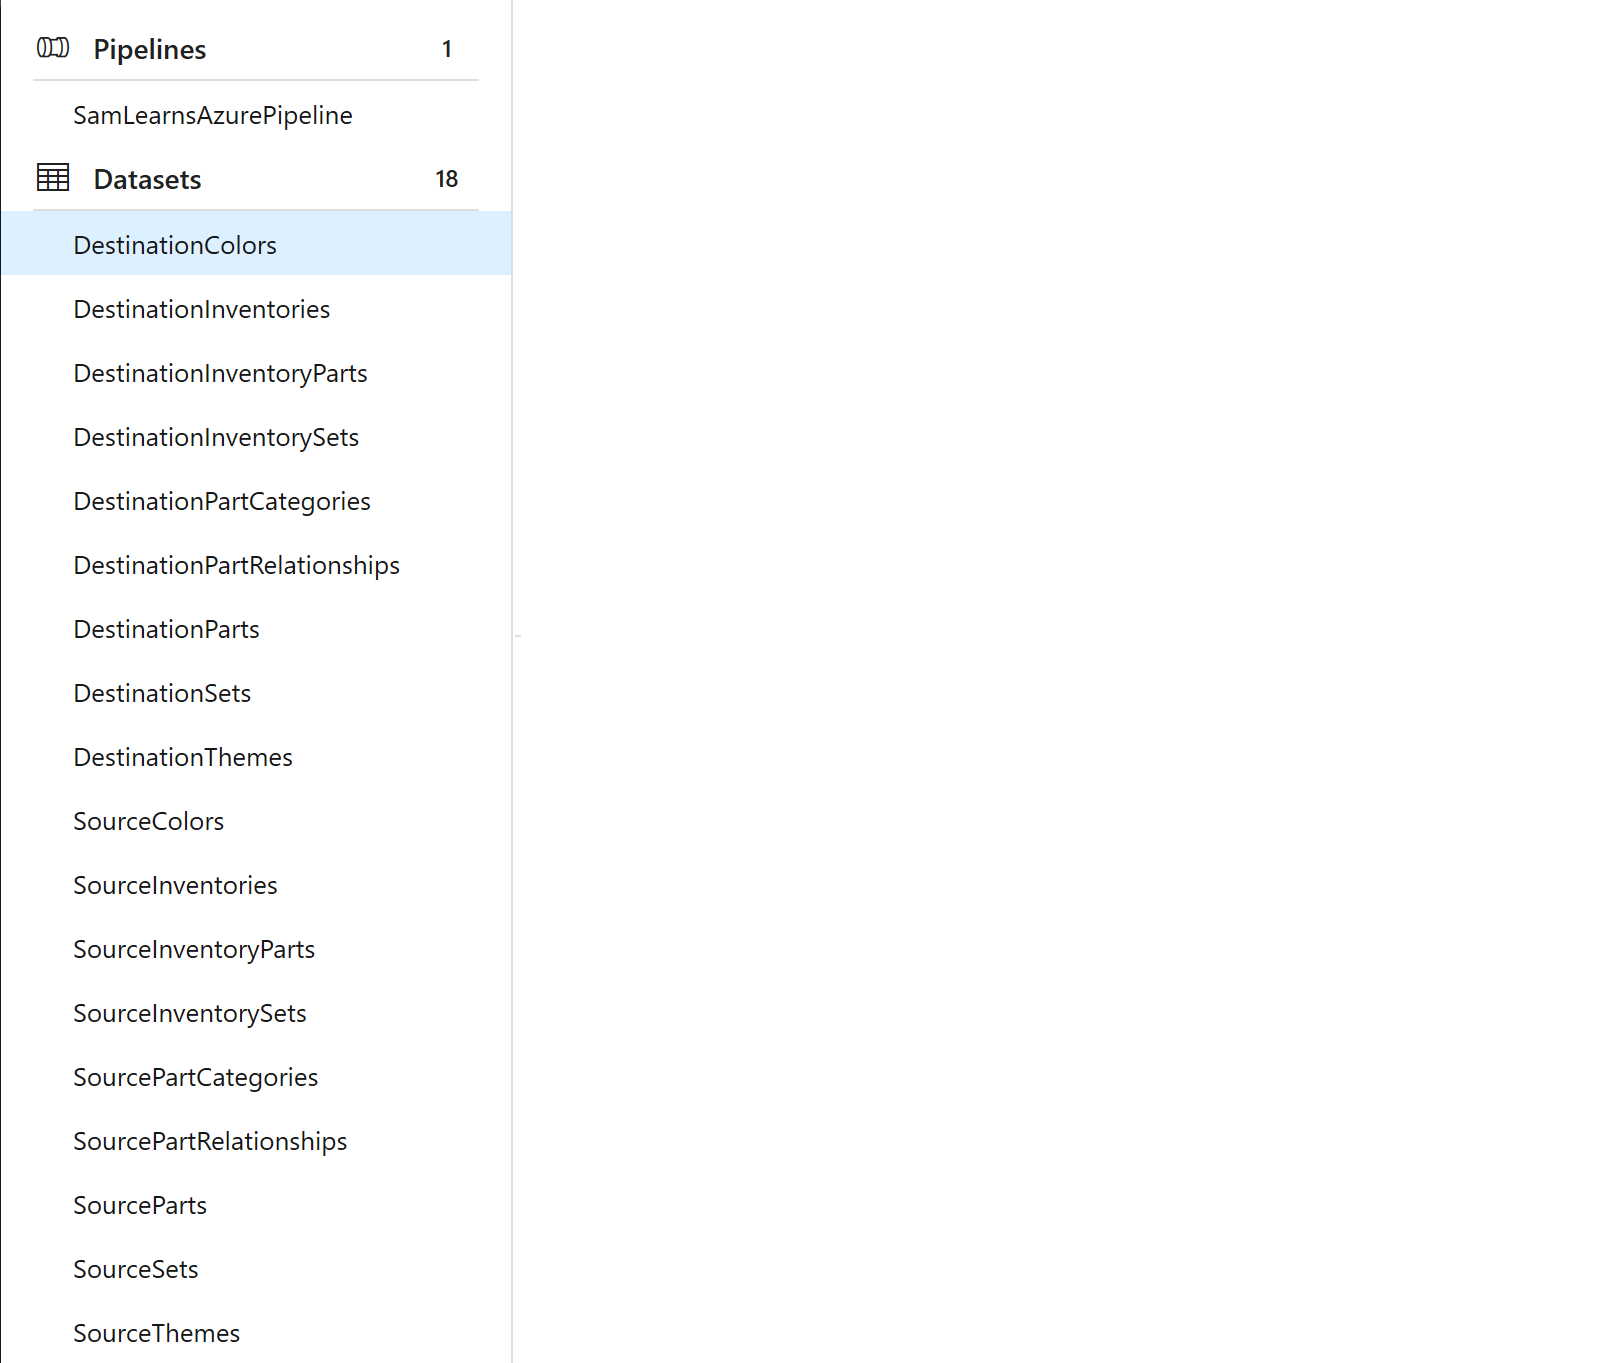
With this basic workflow running successfully, we add all of the other 16 source CSV datasets and destination SQL database datasets.
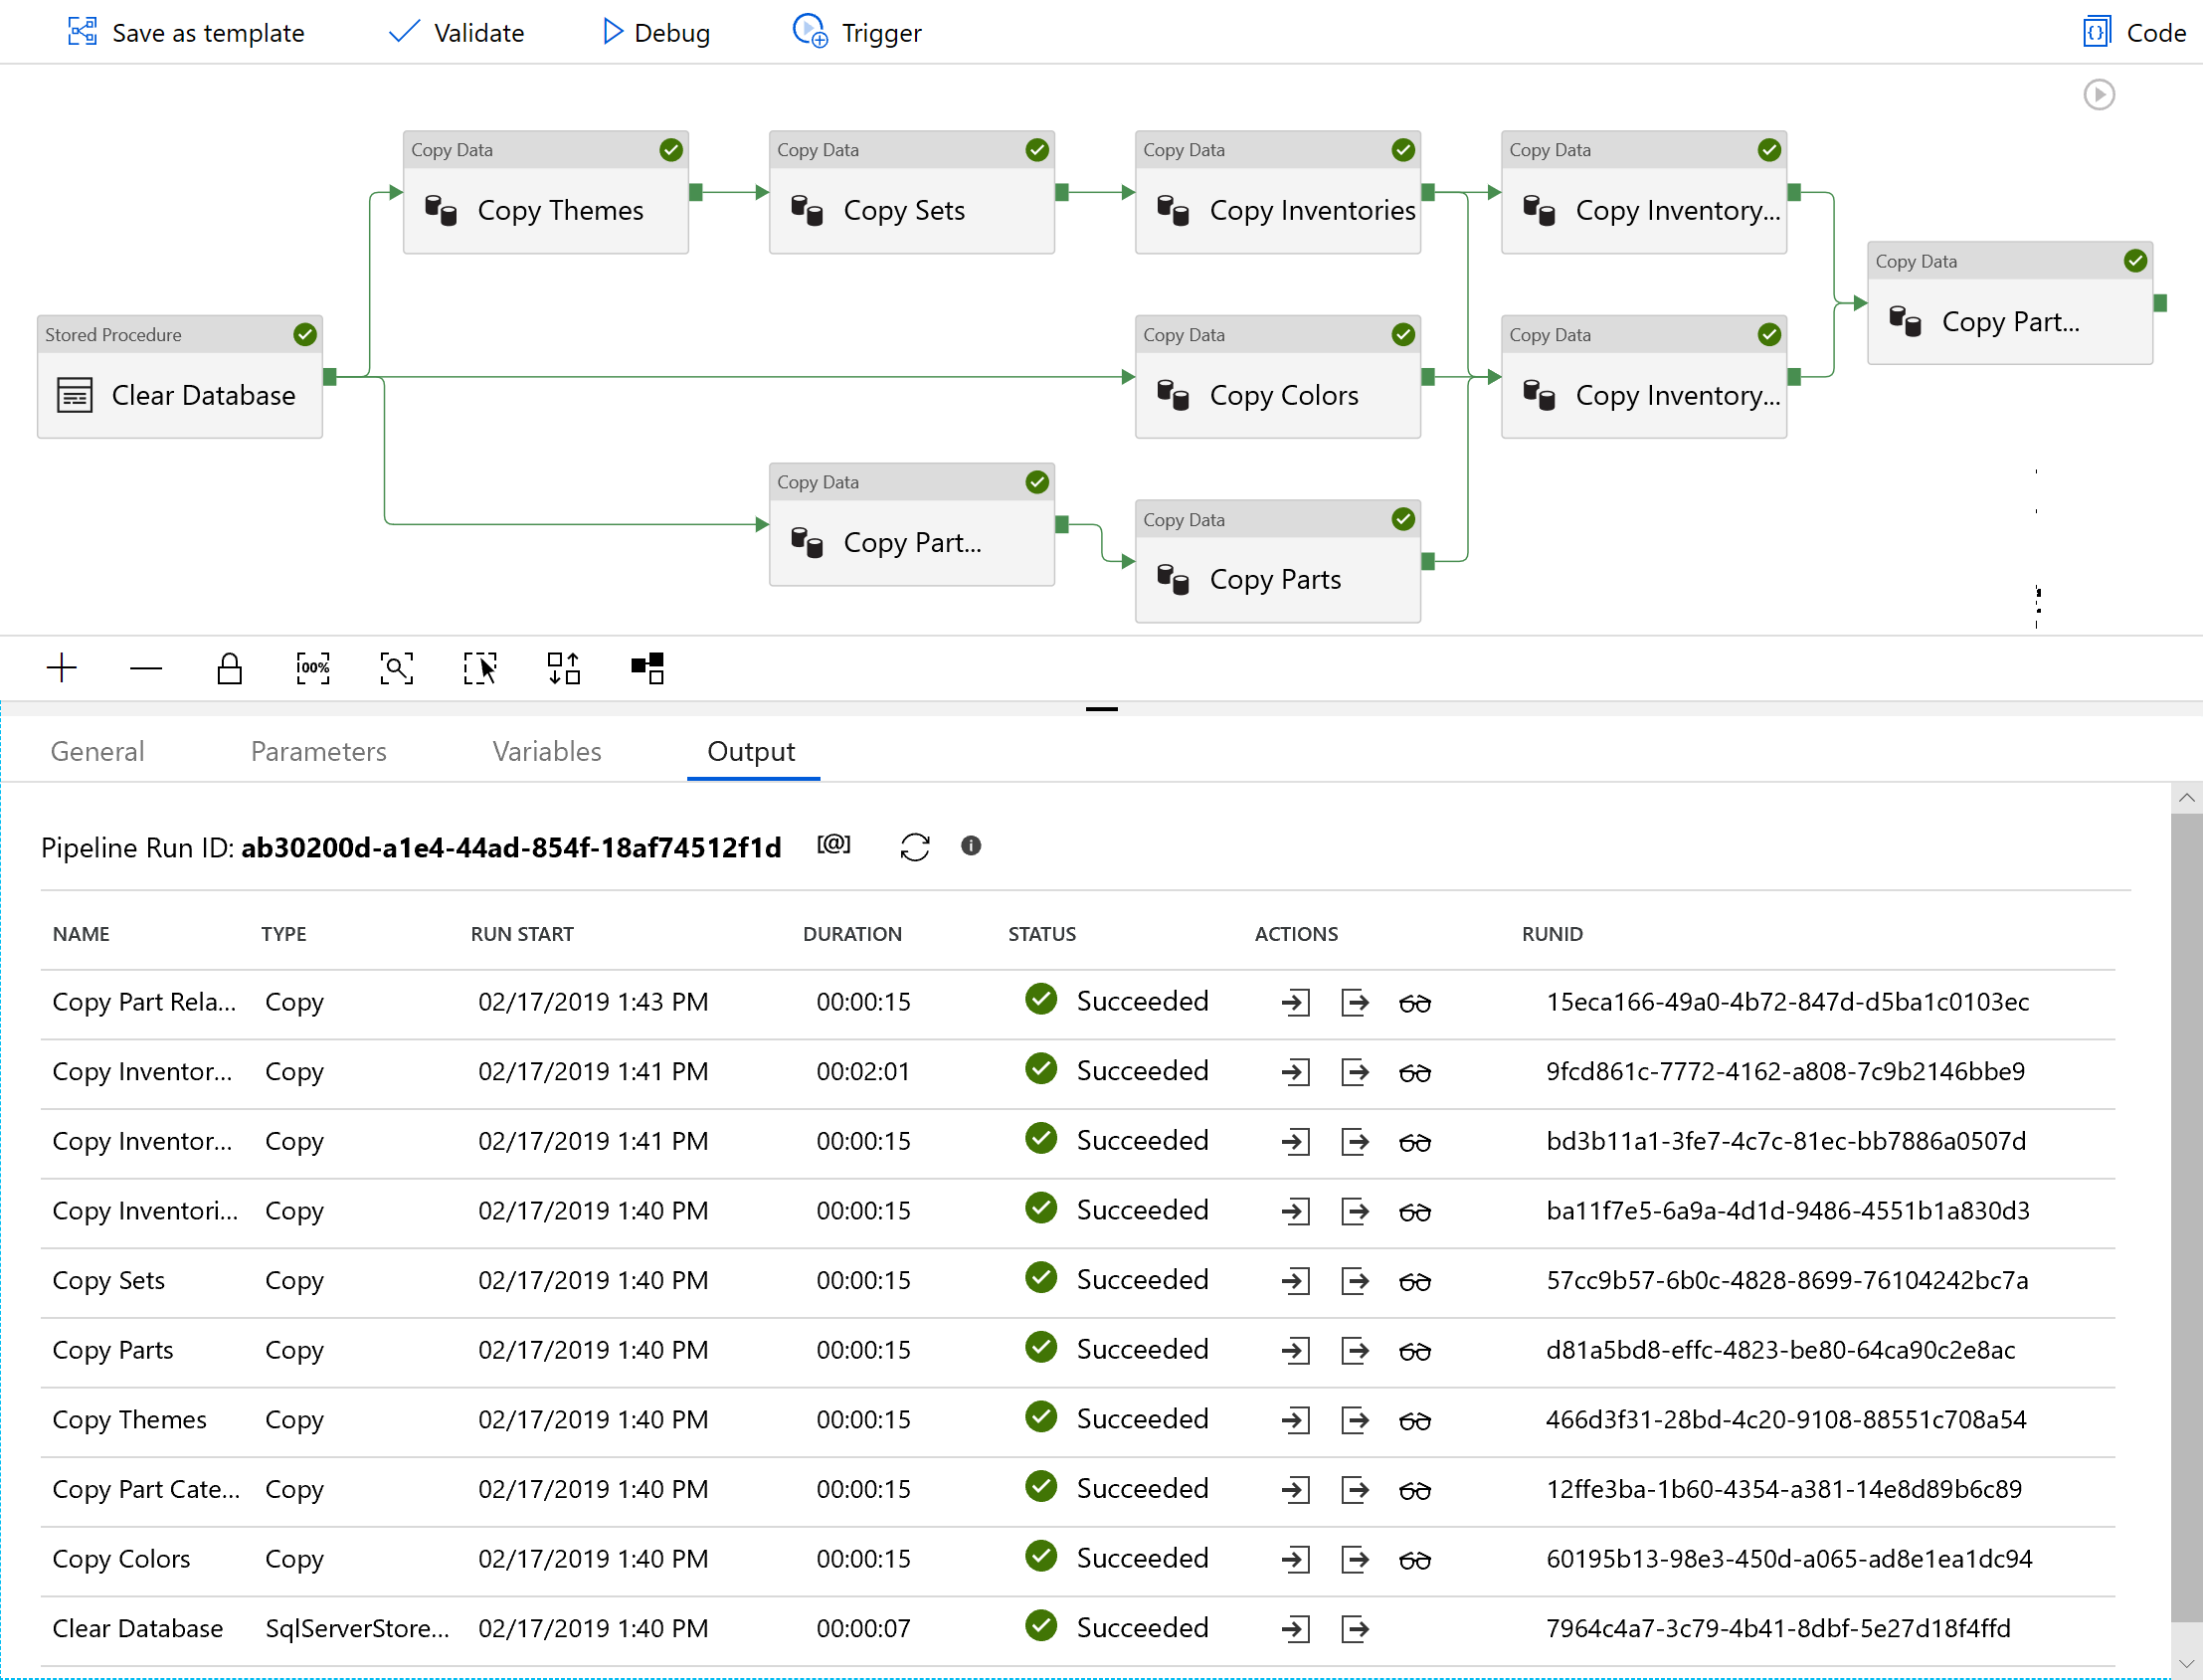
With all of the pieces, we can tie it together, specifying an order based on the foreign keys – for example, “sets” uses “themes” with a foreign key, so sets data can’t be added until themes are added. The result is the workflow below, which data factory is able to automatically layout very nicely. We run the workflow and watch it complete successfully.
With our data factory successfully deploying data to our production database, we are left a problem – what about dev and qa? We could reconfigure the connection string for these environments and run the data factory again… We can also just run our DevOps pipeline twice – remember a production release backs up the current database, and a dev and qa release restores the backup. This feels like the path of least resistance. The first release run successfully, backing up the database as expected, and the second one then restores the dev and qa databases correctly. We like simple and easy solutions.
We aren’t quite done yet. As we’ve just pushed a large amount of data to dev and qa, we run our tests again and watch the integration tests all fail – they weren’t expecting data. We correct our integration tests, added a little more detail as there is data to test now.
Wrapup
Today we created a robust data migration pipeline, using a custom .Net Core console application, Azure Storage, and Azure Data Factory. We showed how many options there are in a Data Factory, but running it all in the cloud is reliable and quick.
Next week we are going to look at processing the zip files, that contain all of our images.
References
- Azure Data Factory: https://azure.microsoft.com/en-us/services/data-factory/

One comment