

Today we will use “GitVersion” to create a release and tag our code in GitHub. A tagged release helps to clearly document and mark a point in history. We have talked about versioning before, but as we use GitHub more, we have identified a number of opportunities to improve this process. This new strategy focuses on auto-versioning deployments instead of builds. In the past we’ve versioned every build uniquely, and while there are situations where this strategy makes sense, in DevOps, our goal is ultimately delivery. It is that delivered value that we really need to version, not the build and work in progress before it. As well as this, we are automating a menial task that is easy to forget – we are helping our end users and improving developer productivity!
Additionally, a big thank you to Alex Vincent who helped us ramp up and write this post!
Semantic Versioning is all about releases, not builds. This means that the version only increases after you release, this directly conflicts with the concept of published CI builds.
https://gitversion.net/docs/more-info/version-increments
Let’s talk about each of the tools and concepts we are going to use today.
- GitVersion is a tool to auto-increment software versions. While the documentation is a bit rough and confusing in places, (it provides a lot – (too many?) of options), it does significantly simplify our versioning strategy.
- Releases allow us to package our software. Effectively it allows us to draw a line in the sand and add some documentation to a released version. This line in the sand is achieved with “tagging”.
- Tagging marks our code at a point in history, making it easy to retrieve that point in history at any time. This is useful if we have to go back to an old release and make a hotfix.
Today, we are going to setup releases on our Feature Flags repo.
Setting up in GitHub
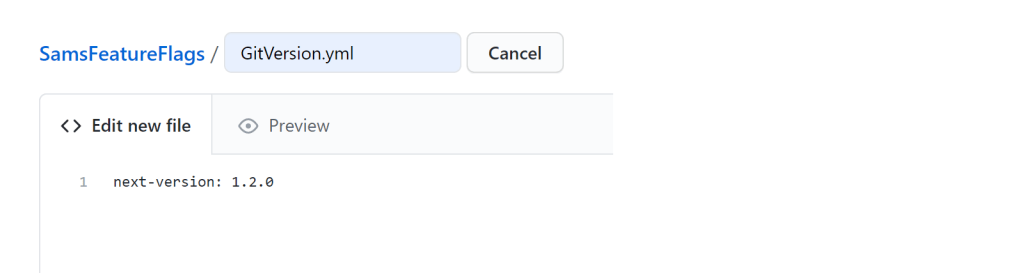
After creating a new feature branch, our first step is to create a new GitVersion.yml file, and add the next version we are will target. Our current version is 1.1.2, we are going to upgrade to 1.2.0 for this release. This “next-version” property is meant to be a seed, we don’t have to update this version for every release, as going forward we will look for the last tagged source first. The text is shown below, as well as a screenshot showing the complete file.
next-version: 1.2.0
Next we need to add some tasks to our GitHub Actions CI/CD pipeline. This involves a few steps, the final action to generate the version is shown below:

- In the red highlighted area, we setup a job output – this will enable us to use the version variable in a future job. We also capture the “number of commits since the last release” variable, which will be helpful for some conditional logic later.
- Next, in the green highlighted area, we need to check out the code, using the ‘fetch-depth: 0’ parameter, a requirement for GitVersion.
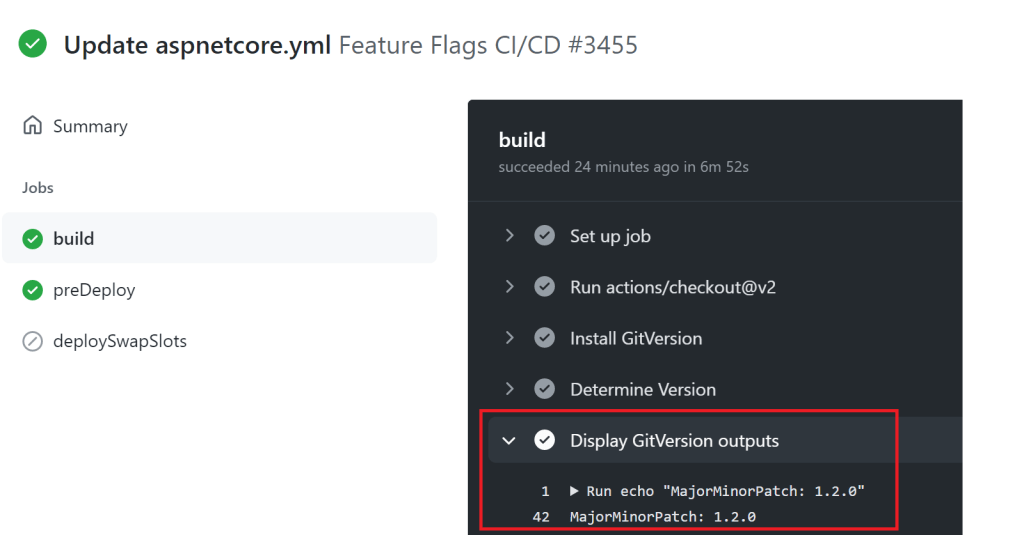
- In the blue highlighted area, we show 3 steps. The first sets up GitVersion, the next determines the version, and the last outputs the version to the console. We can see this version in the screen shot below – which correctly shows 1.2.0, as expected.
In a subsequent job, we will create the release and tag the code with this release name, as shown in the image below. Note the conditional “if” statement on line 148, to ensure we don’t release our code in a pull request – we only want to release code that has been approved, reviewed and merged through a pull request to keep our quality high.
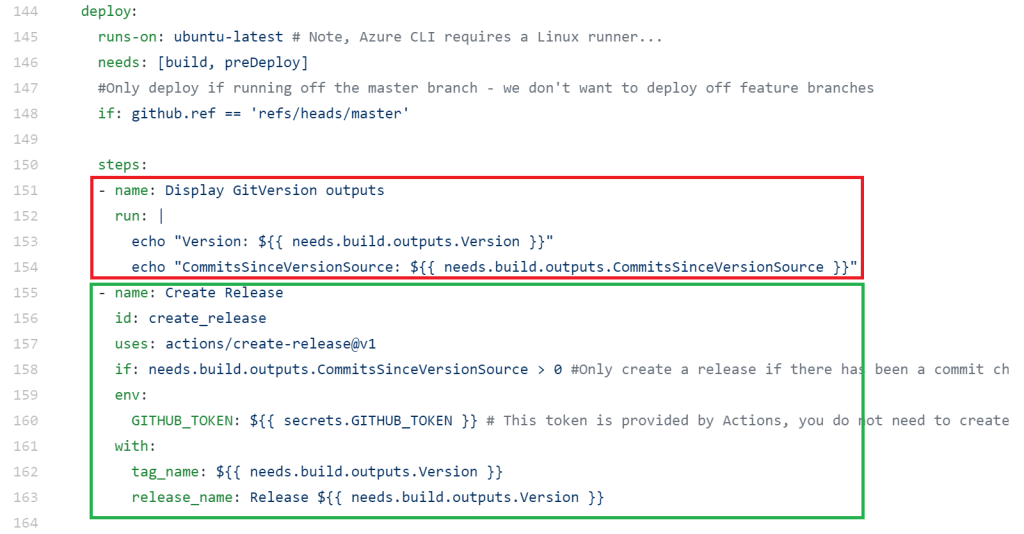
Let’s look at the individual steps closer:
- First we confirm that the two version variables transferred correctly from the previous job, highlighted in red. This is optional, but helps with troubleshooting.
- Then we create the actual release, tagging the code with the version, and naming the release “Release [version]”. Note that a tag/release is unique and can only be created once. We found it useful to to check that the “CommitsSinceVersionSource” is greater than 0 to help with this. If we rerun this same pipeline, it won’t try to create the same release twice.
Our workflow in GitHub
We complete this code and as expected, note that “Release 1.2.0” was created as expected.

But how do we control versions in the future? Let’s walk through the 3 scenarios and the steps required.
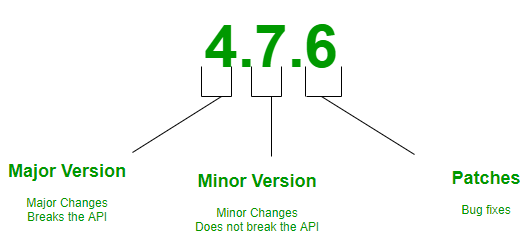
- Major version: a large change, or a change that breaks the backward compatibility: These changes require us to reset the next-version in the GitVersion.yml file. For example, if on version 3.2.6, and we need to upgrade to 4.0.0, we will set the next-version property to “4.0.0”
- Minor version: a small change that does not break backward compatibility: Add “+semver: minor” to any commit comment. This will increment the minor version by one. For example, if on version 3.2.6, upgrading the minor version will change the version to 3.3.0. Note that the command “+semver: major” does not work for major versions due to a known bug in GitVersion.
- Patch version: a small change, usually a bug fix: Do nothing, GitVersion will automatically increment the patch version if the major or minor versions don’t increment. For example, if on version 3.2.6, after completing a pull request, the patch version will change to 3.2.7.
Wrap-up
Today, we setup an automated versioning strategy in GitHub, increasing our productivity. When we deploy our code, we have clear markers in our repo (with tags) to indicate the state of the code, as well as snapshots of the code with Releases. Users subscribed to our repo will be notified of a new release, and be able to easily browse it’s change list.
References
- GitVersion website: https://gitversion.net/docs/more-info/how-it-works
- Good blog reference with .NET Core: https://www.codewrecks.com/blog/index.php/2020/03/22/github-actions-plus-gitversion/
- Using variables in future jobs: https://stackoverflow.com/questions/59175332/using-output-from-a-previous-job-in-a-new-one-in-a-github-action
- Featured image credit: https://media.geeksforgeeks.org/wp-content/uploads/semver.png

2 comments