

This week we are going to apply what we learned last week, scaling up our YAML conversion to include our “Sam Learns Azure” release pipeline. This was a pretty massive task – we needed to run 45 pipeline builds in our pull request, with a lot of failure. Overall, we think it’s worth reminding many that this is advanced DevOps, most teams are better off today with the UI based releases.
Editing YAML best practices
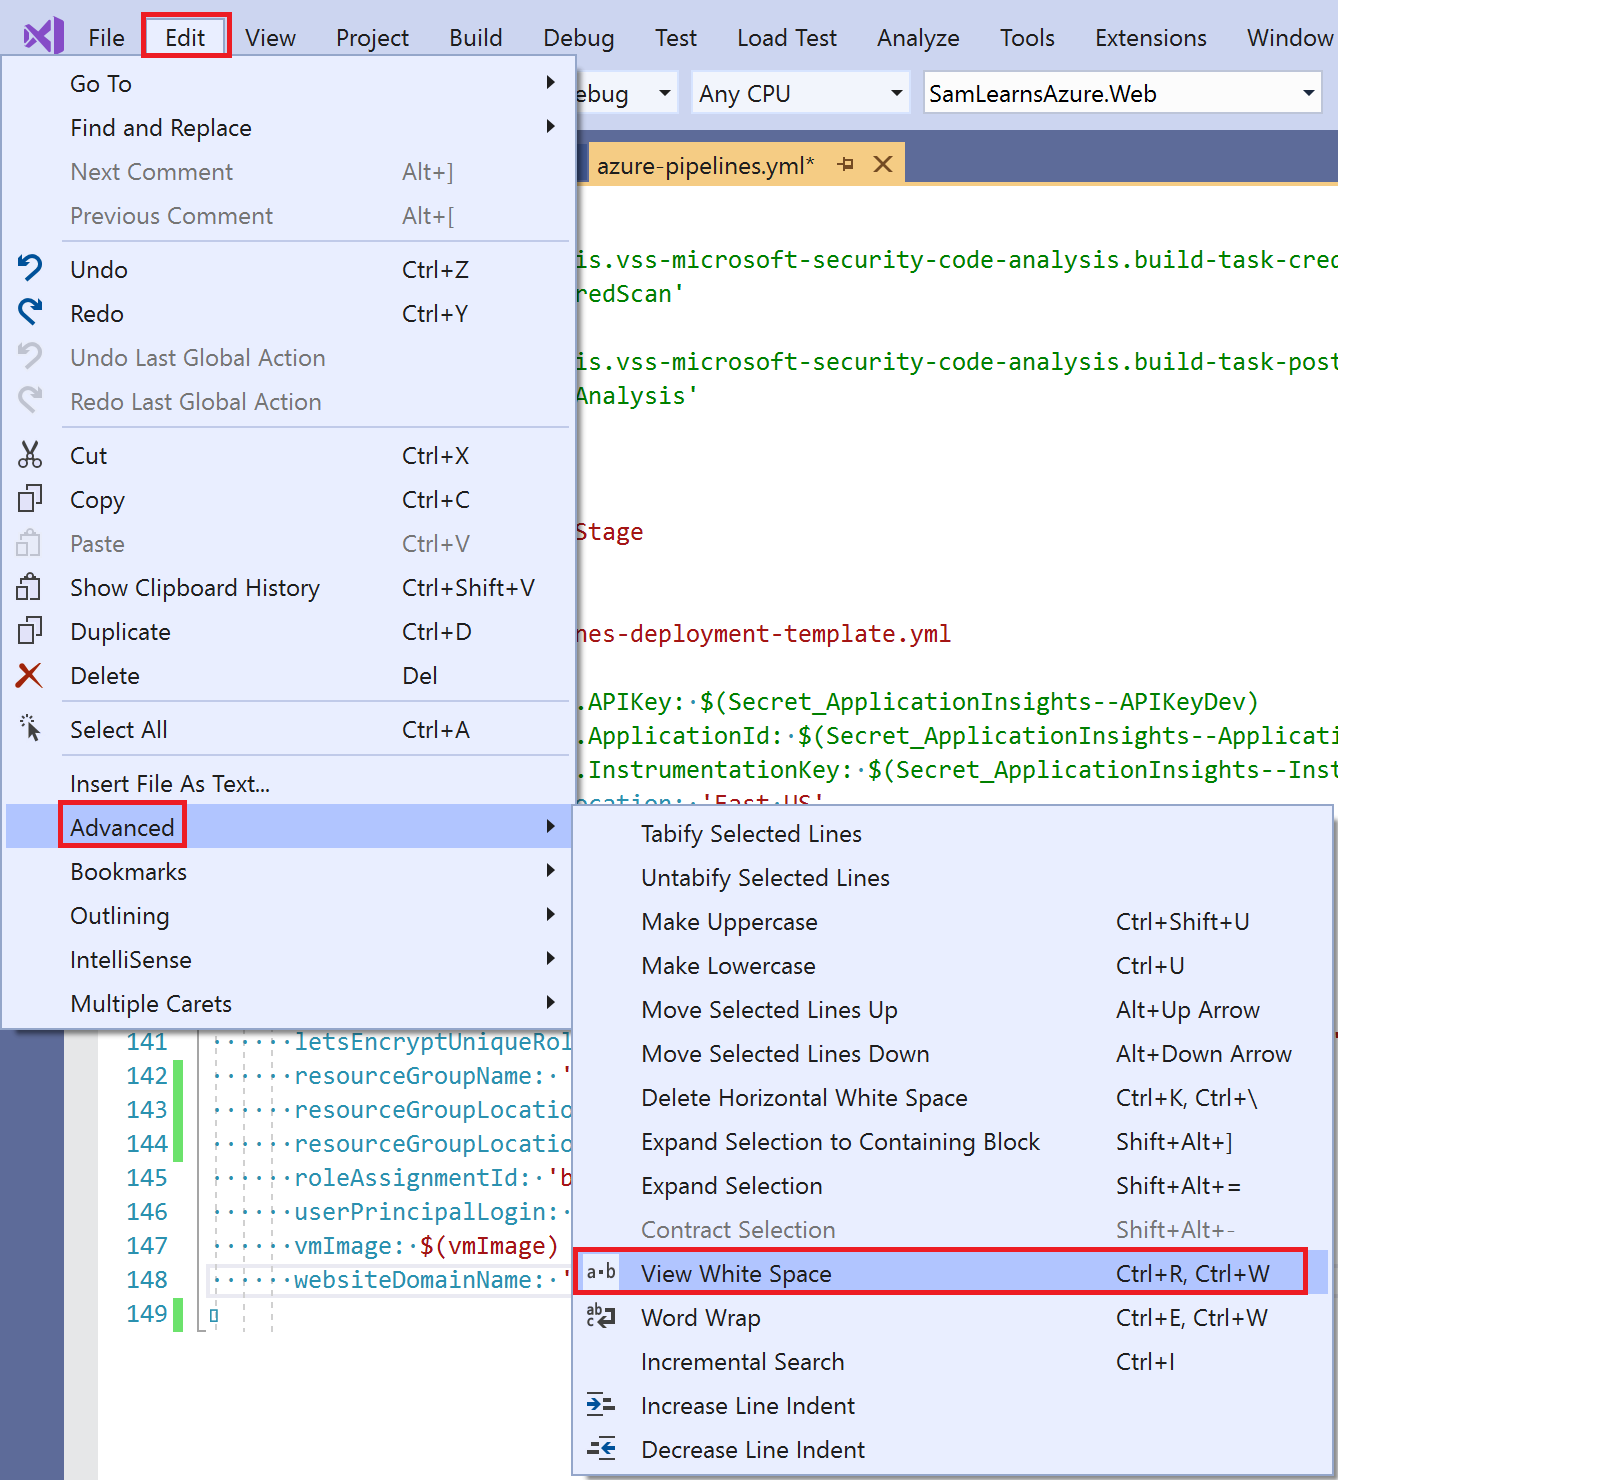
Initially, we ran into a number of errors that were unhelpful and difficult to troubleshoot. For example, if you accidentally added a tab character to your YAML code, you receive one of the following, unhelpful, two errors (depending on where your tab appeared in the YAML):
- “While scanning a plain scalar, find a tab character that violate indentation.”
- “While scanning for the next token, find character that cannot start any token.”
To find these rogue tab characters in the YAML with Visual Studio , we can turn on white space with the shortcut “Ctrl+R, Ctrl+W”, or access the menu as shown in the screenshot below.
With the white space enabled, we can see the tab character on line 140, and replace it with spaces, resolving one of the errors above.

However, in the end, after some research and experience, we came to the conclusion that Visual Studio Code is the tool of choice for YAML editing. VS Code has extensions that enable YAML validation, and can detect errors in the editor, that Visual Studio cannot, and does not currently have.

Removing links between the build and current release
Before we start queuing our new release, we need to disable the existing continuous deployment triggers – we won’t want releases to be pushed out while we are testing.
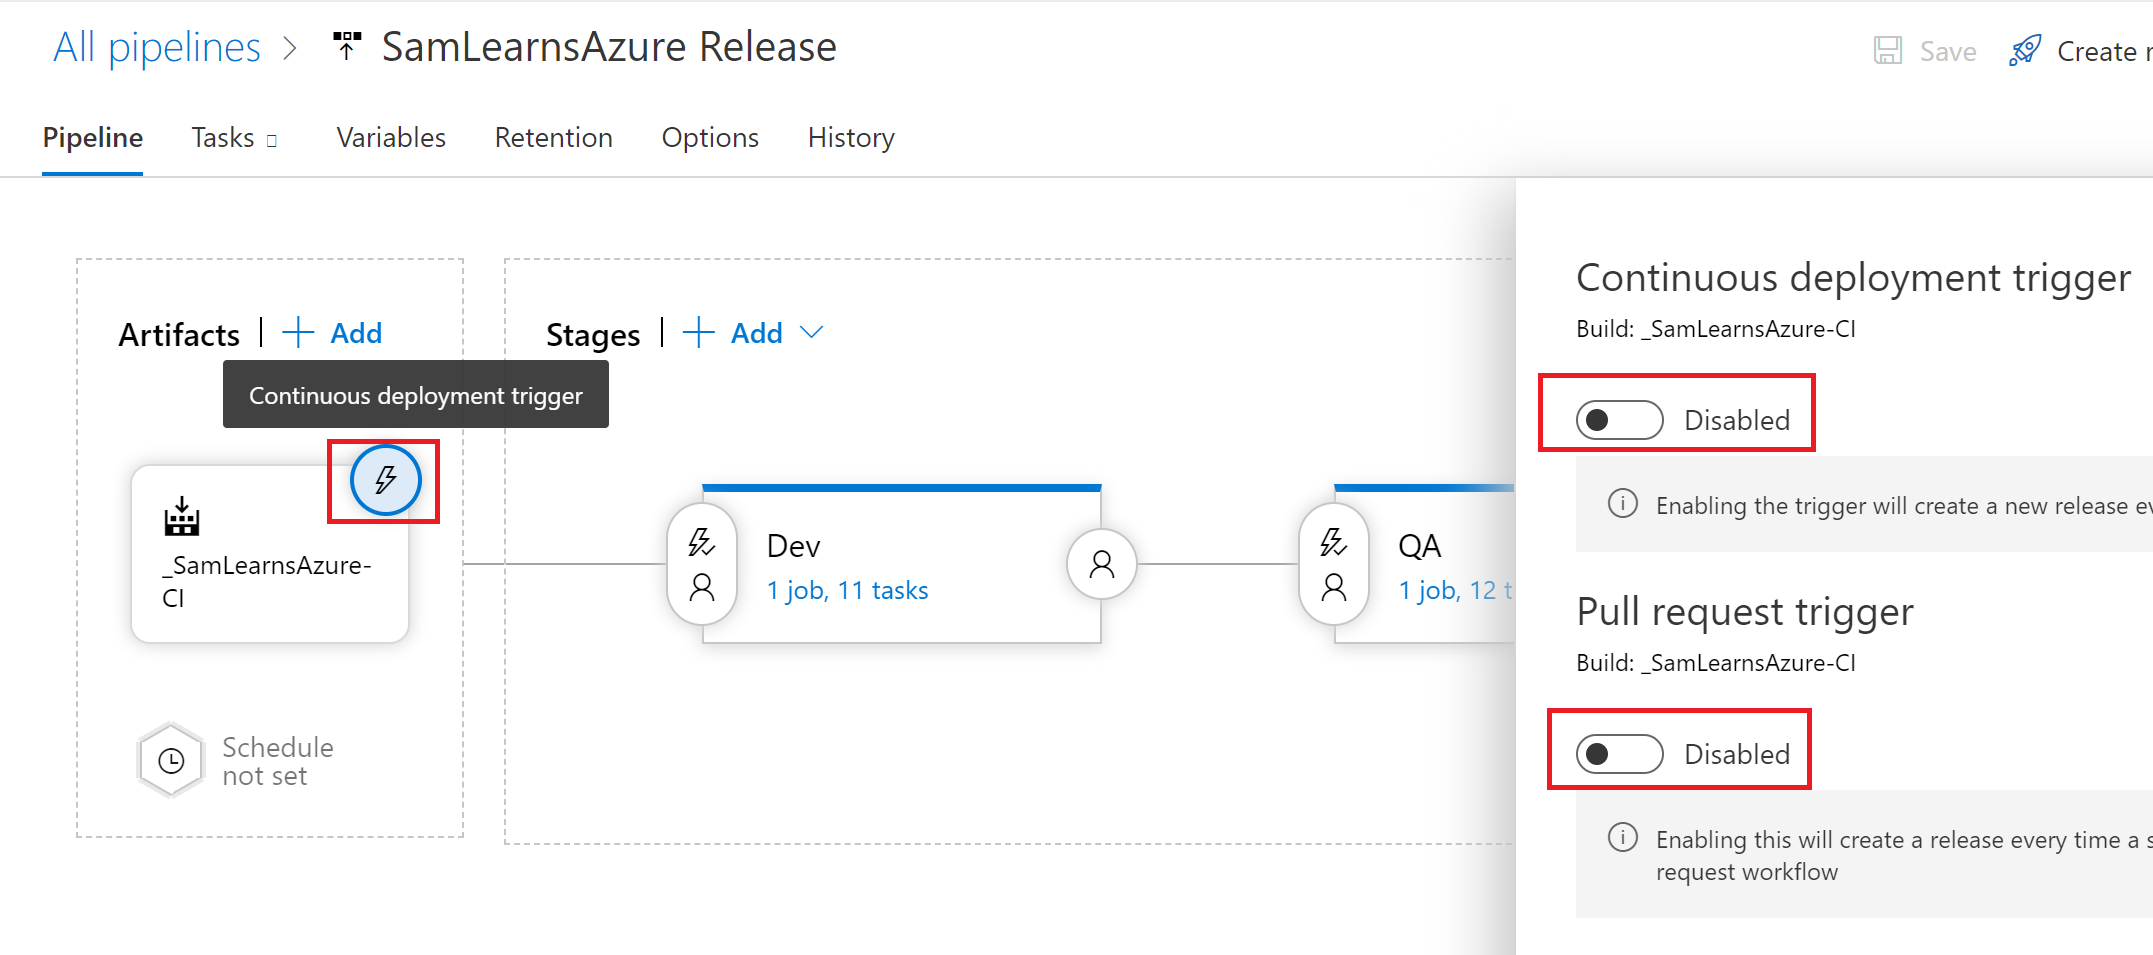
We also need to disable the Pull Request deployments in the branch policies, as we will be moving this logic into the YAML.

Managing the stages
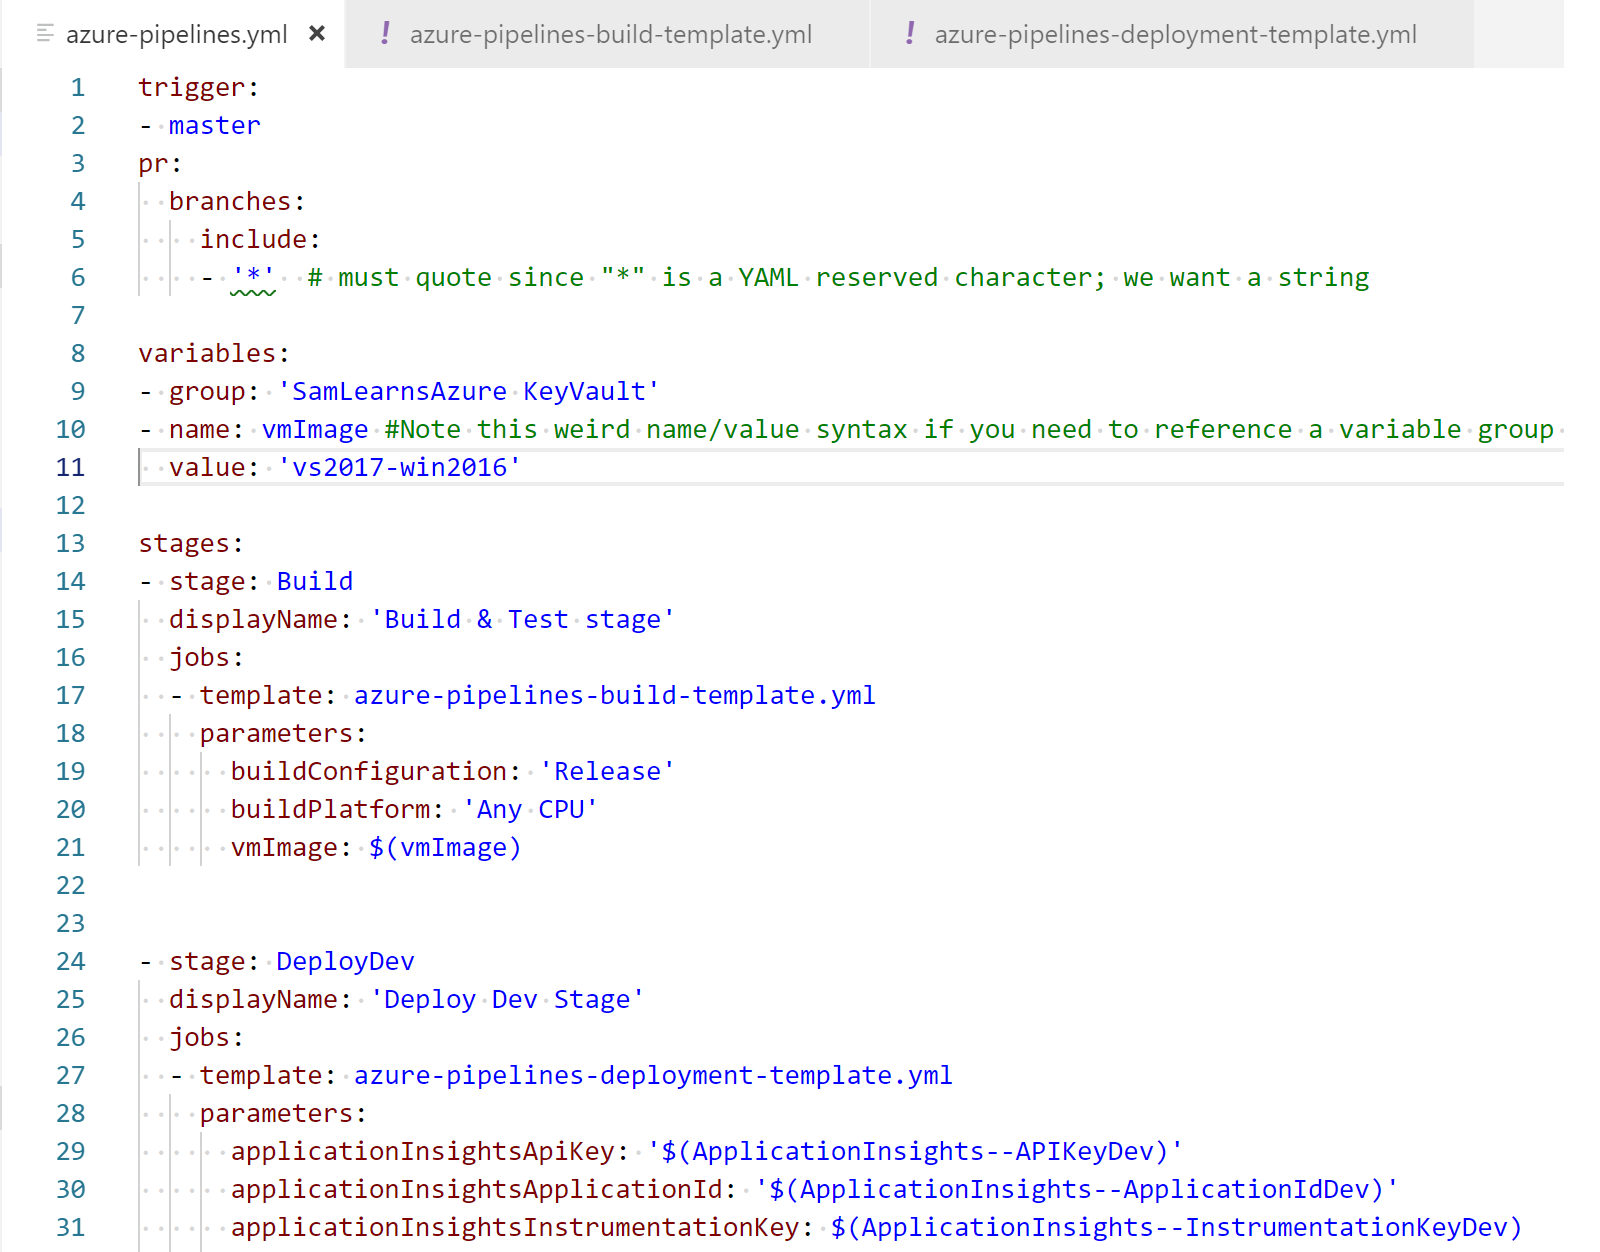
With a good editor in place, we start to work on creating a build template and deploy template, with a parent YAML file to call the child files. Our first task is to add stages and jobs to our existing YAML build, similar to what we did last week as we were learning about the multi-stage pipelines. We setup a trigger to run on master updates, and any Pull Request (“pr”). We setup the variables, assigning the vmImage to the VS2017 host, and started to prepare for the build template.

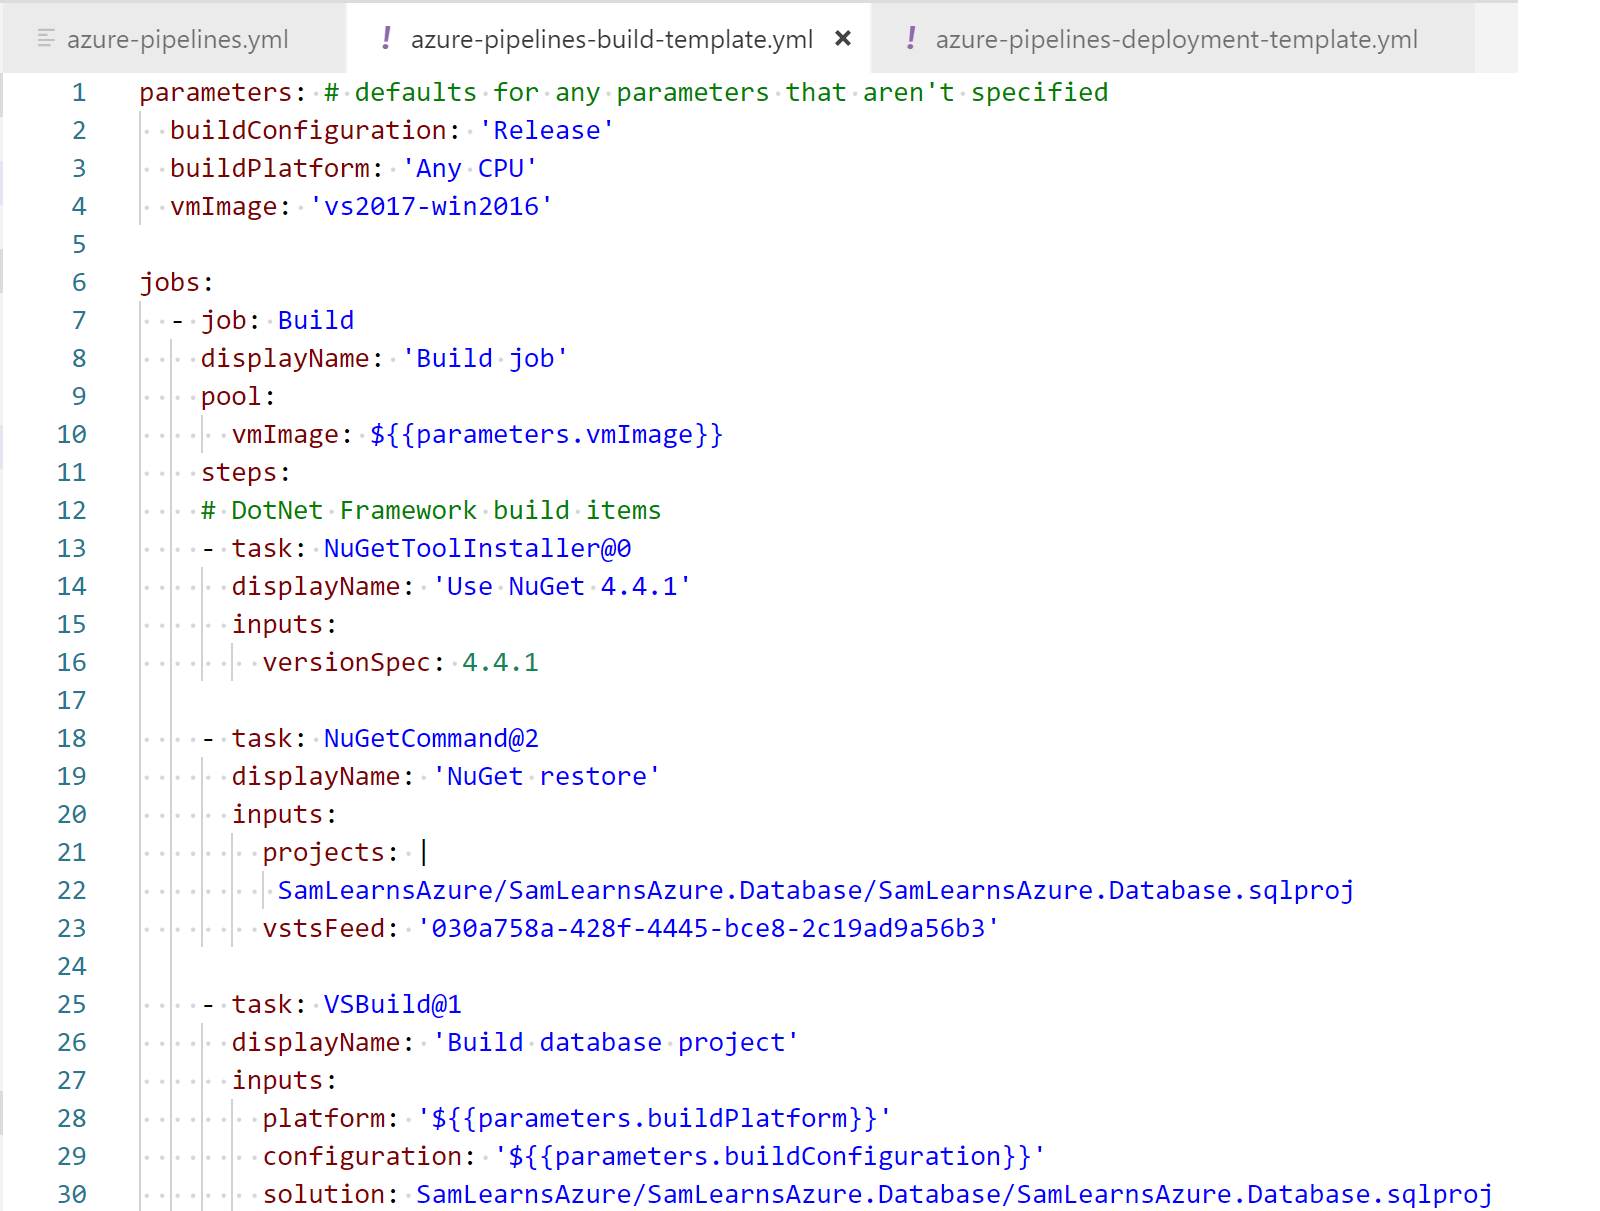
It was finally time to create the new build template, “azure-pipelines-build-template.yml”, and pasted in the build content into the template. This is straightforward as the parameters are simple, and most of this YAML already existed.
Now it’s time to setup the deployment stages. We need to start by setting up the variable group, which will download all of our secrets from our key vault. Unfortunately, this forces us to use an awkward syntax for other variables we need to define inline. However, we are also fortunate that in this case, that is just one variable for the VM image.
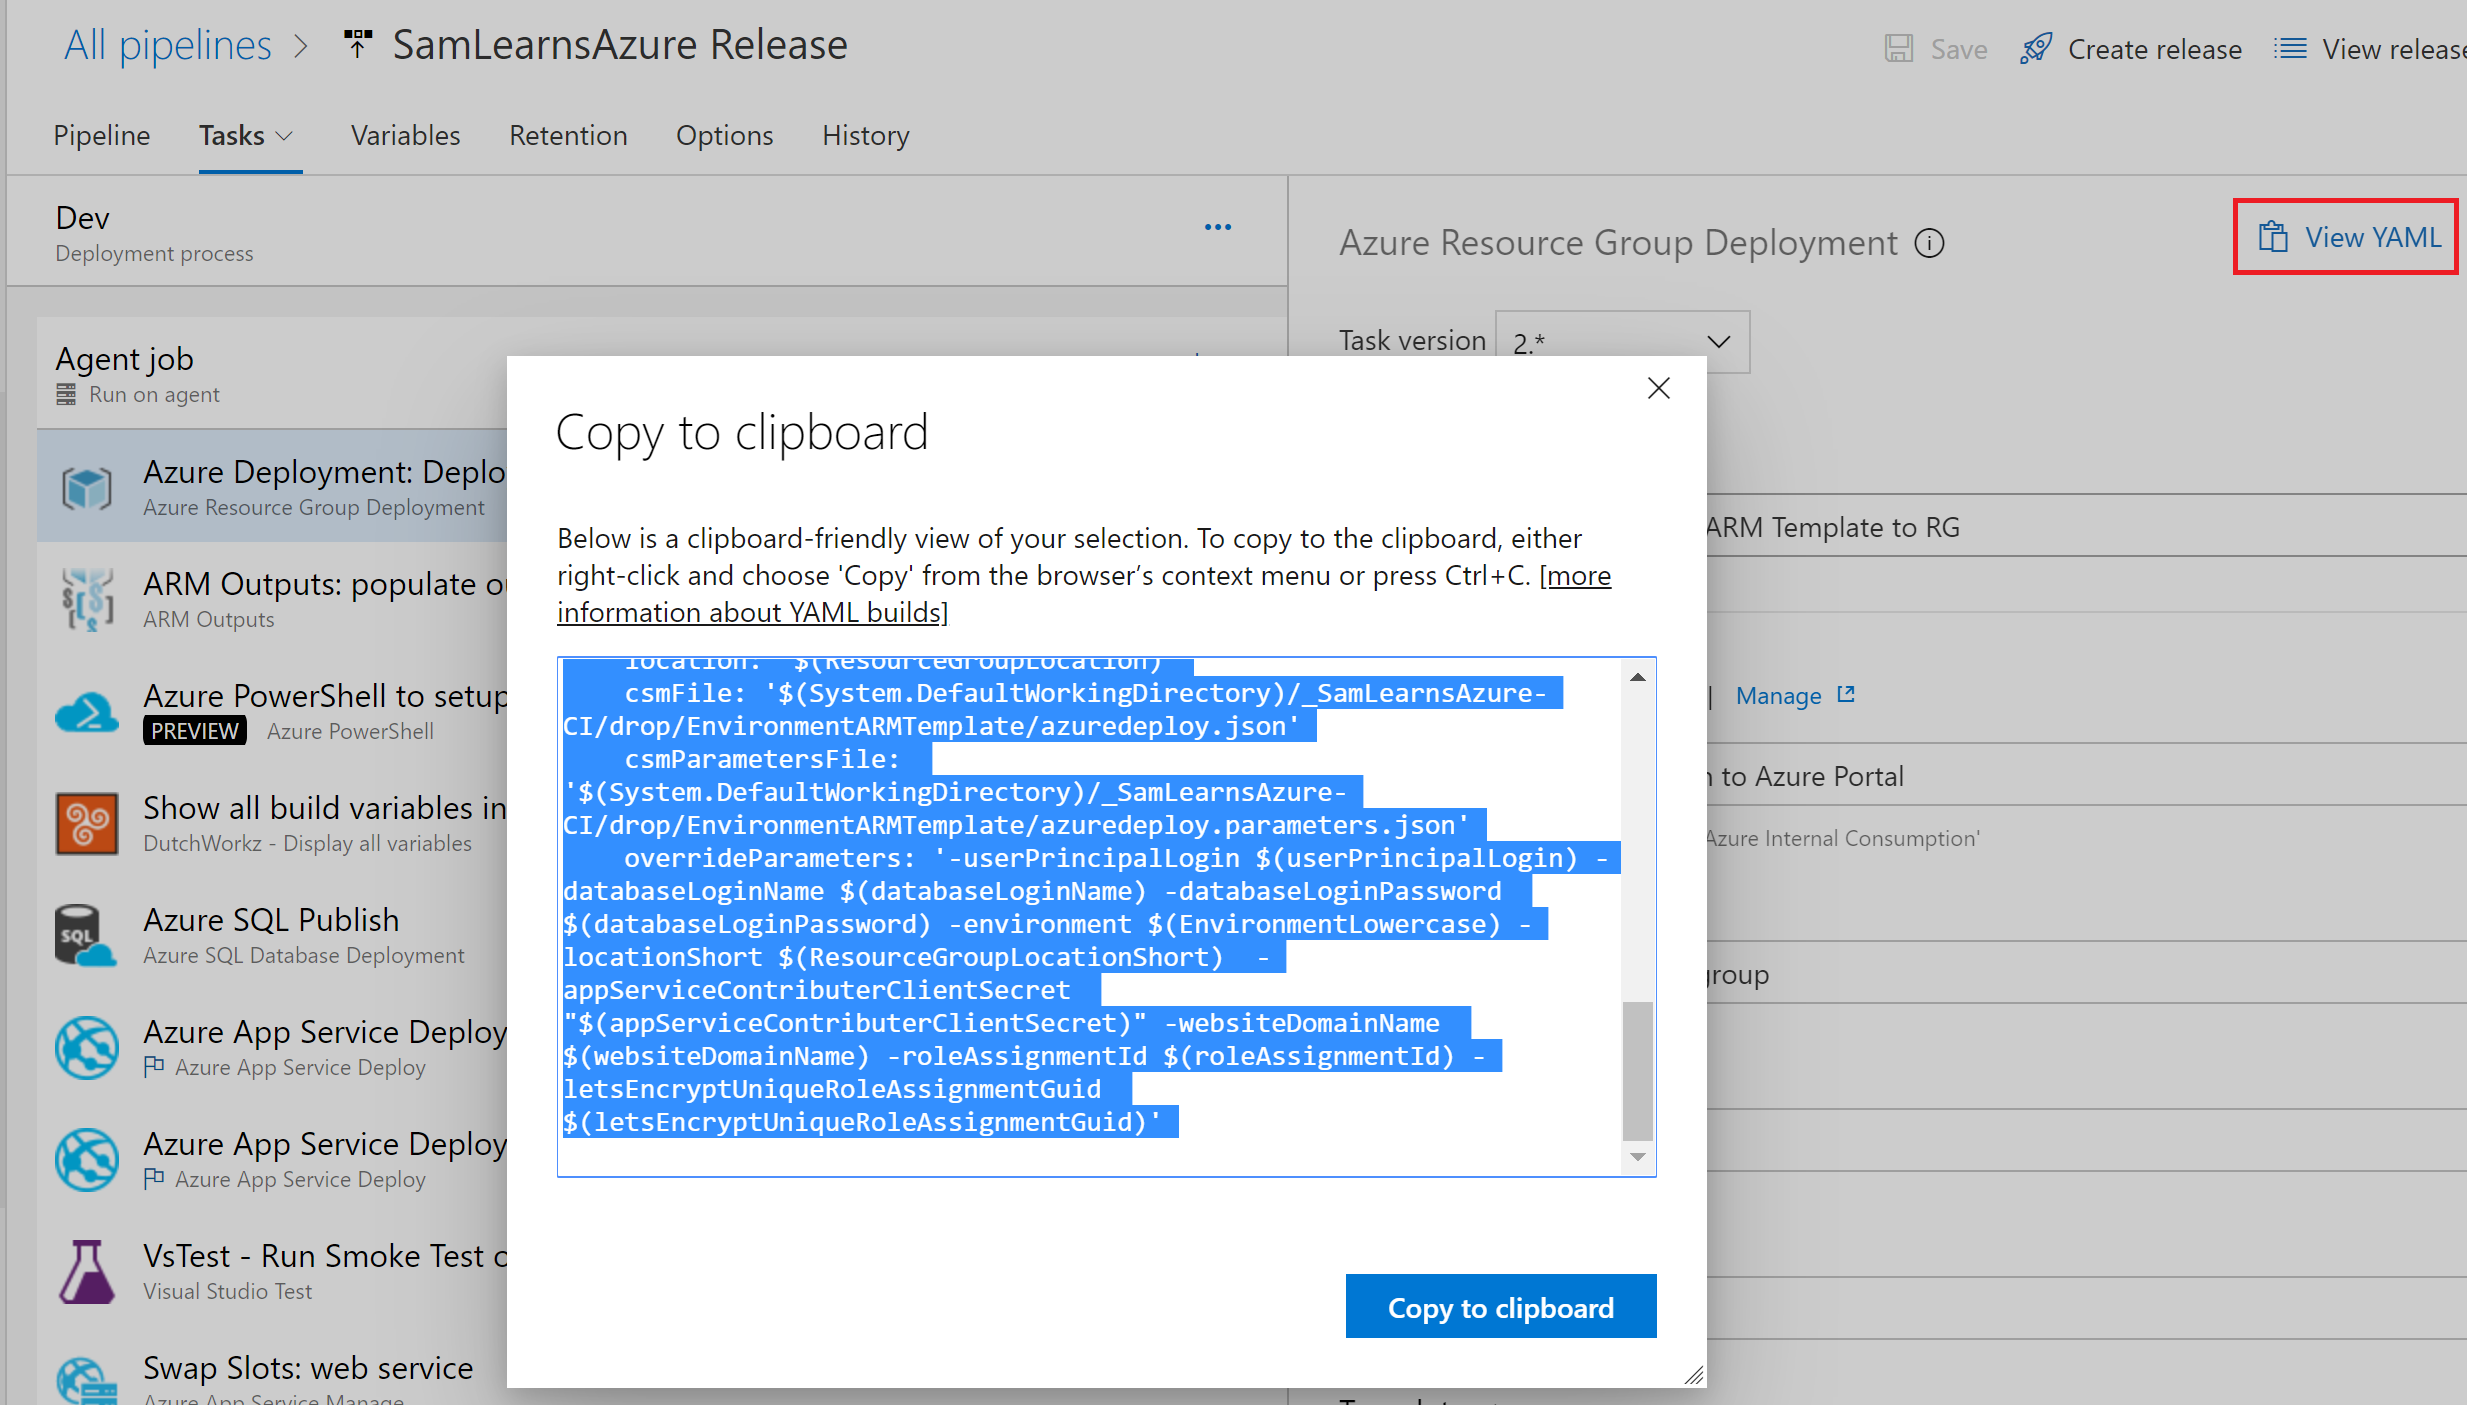
For the deployment, we create another new template, “azure-pipelines-deployment-template.yml”, that we will reuse for each of our stages. We start by adding the “resource group deployment task”. To generate the YAML, we open our current release, and click the “view YAML” button in the task, copying the text to the clipboard.
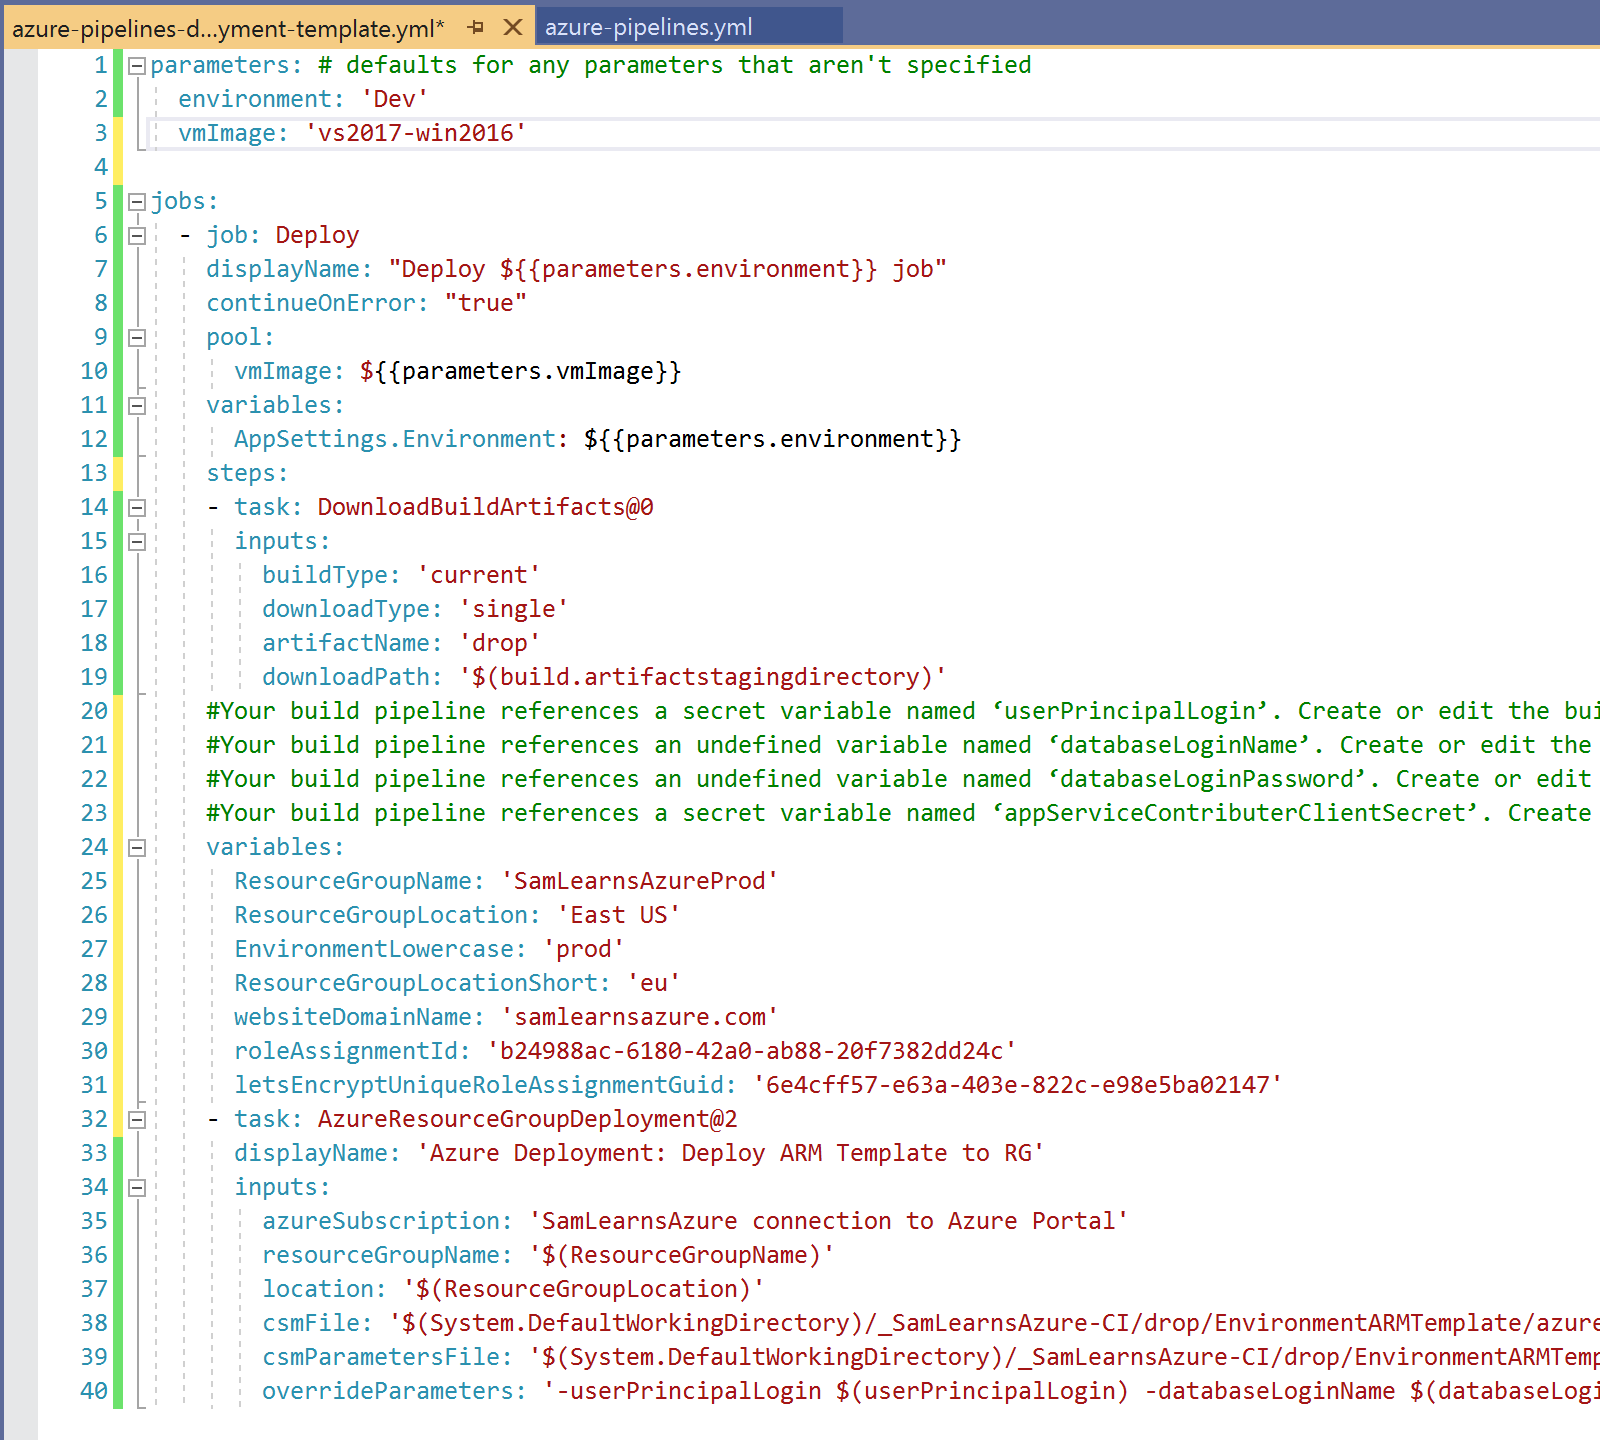
Pasting this YAML into our deployment template, we have some minor cleanup to do. First we need to move the variables to the parameters, including parameters for the four secret variables shown in the comments on lines 20-23. These are values we will read from the keyvault. Finally, we need to update the inputs to use the parameter variables.
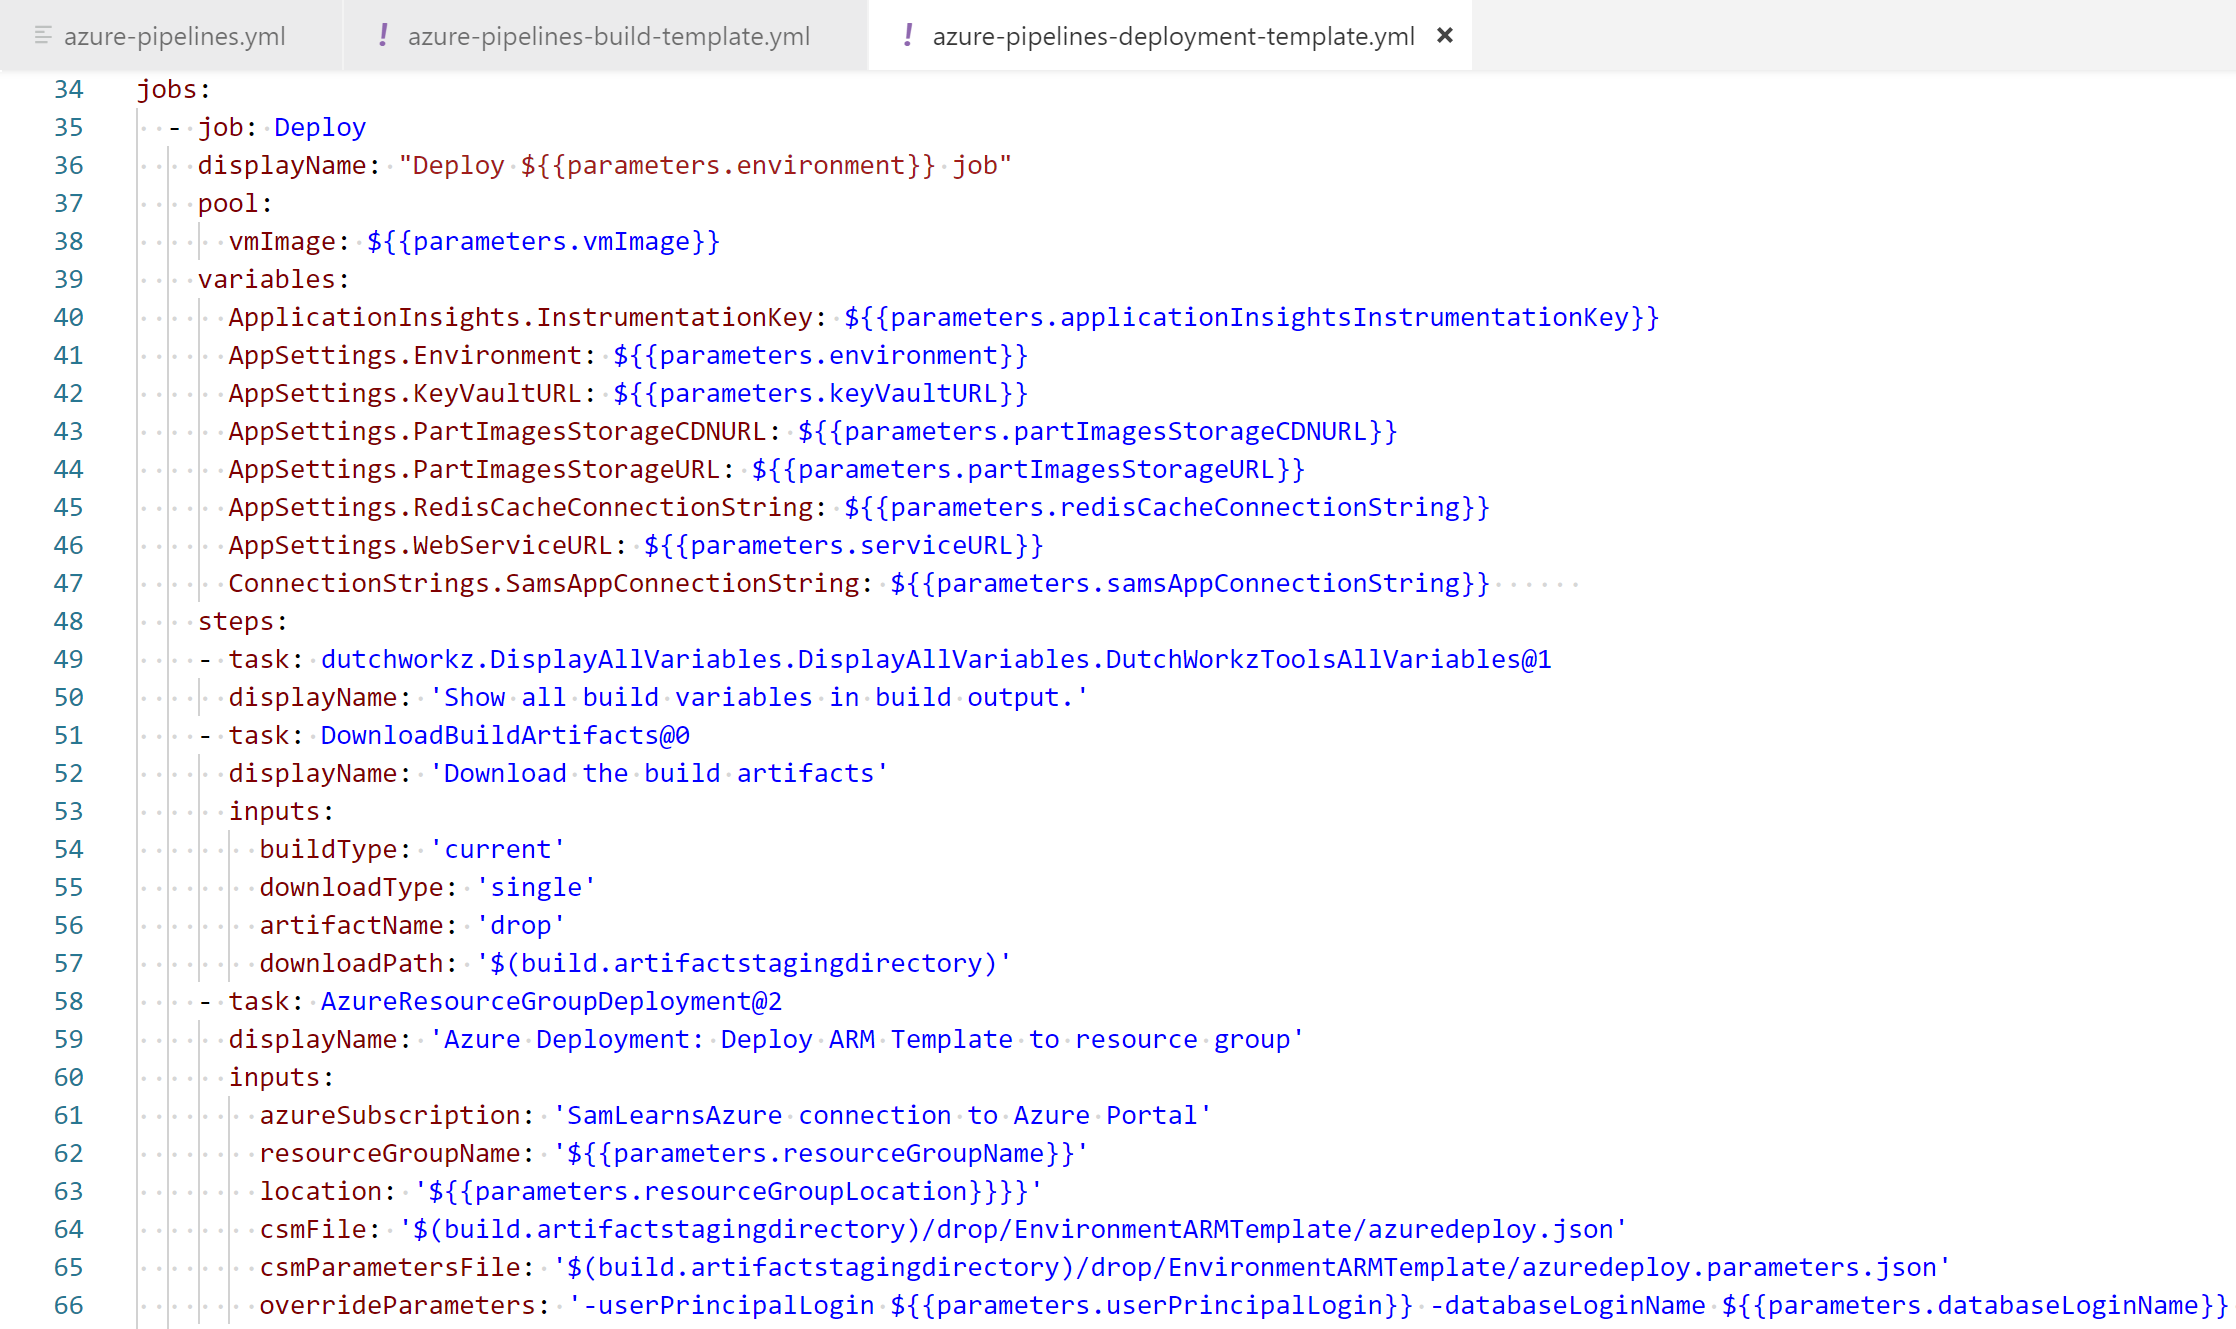
The resultant YAML is fairly clean, with the variables defined with parameters, with clear display names to show what each task does.
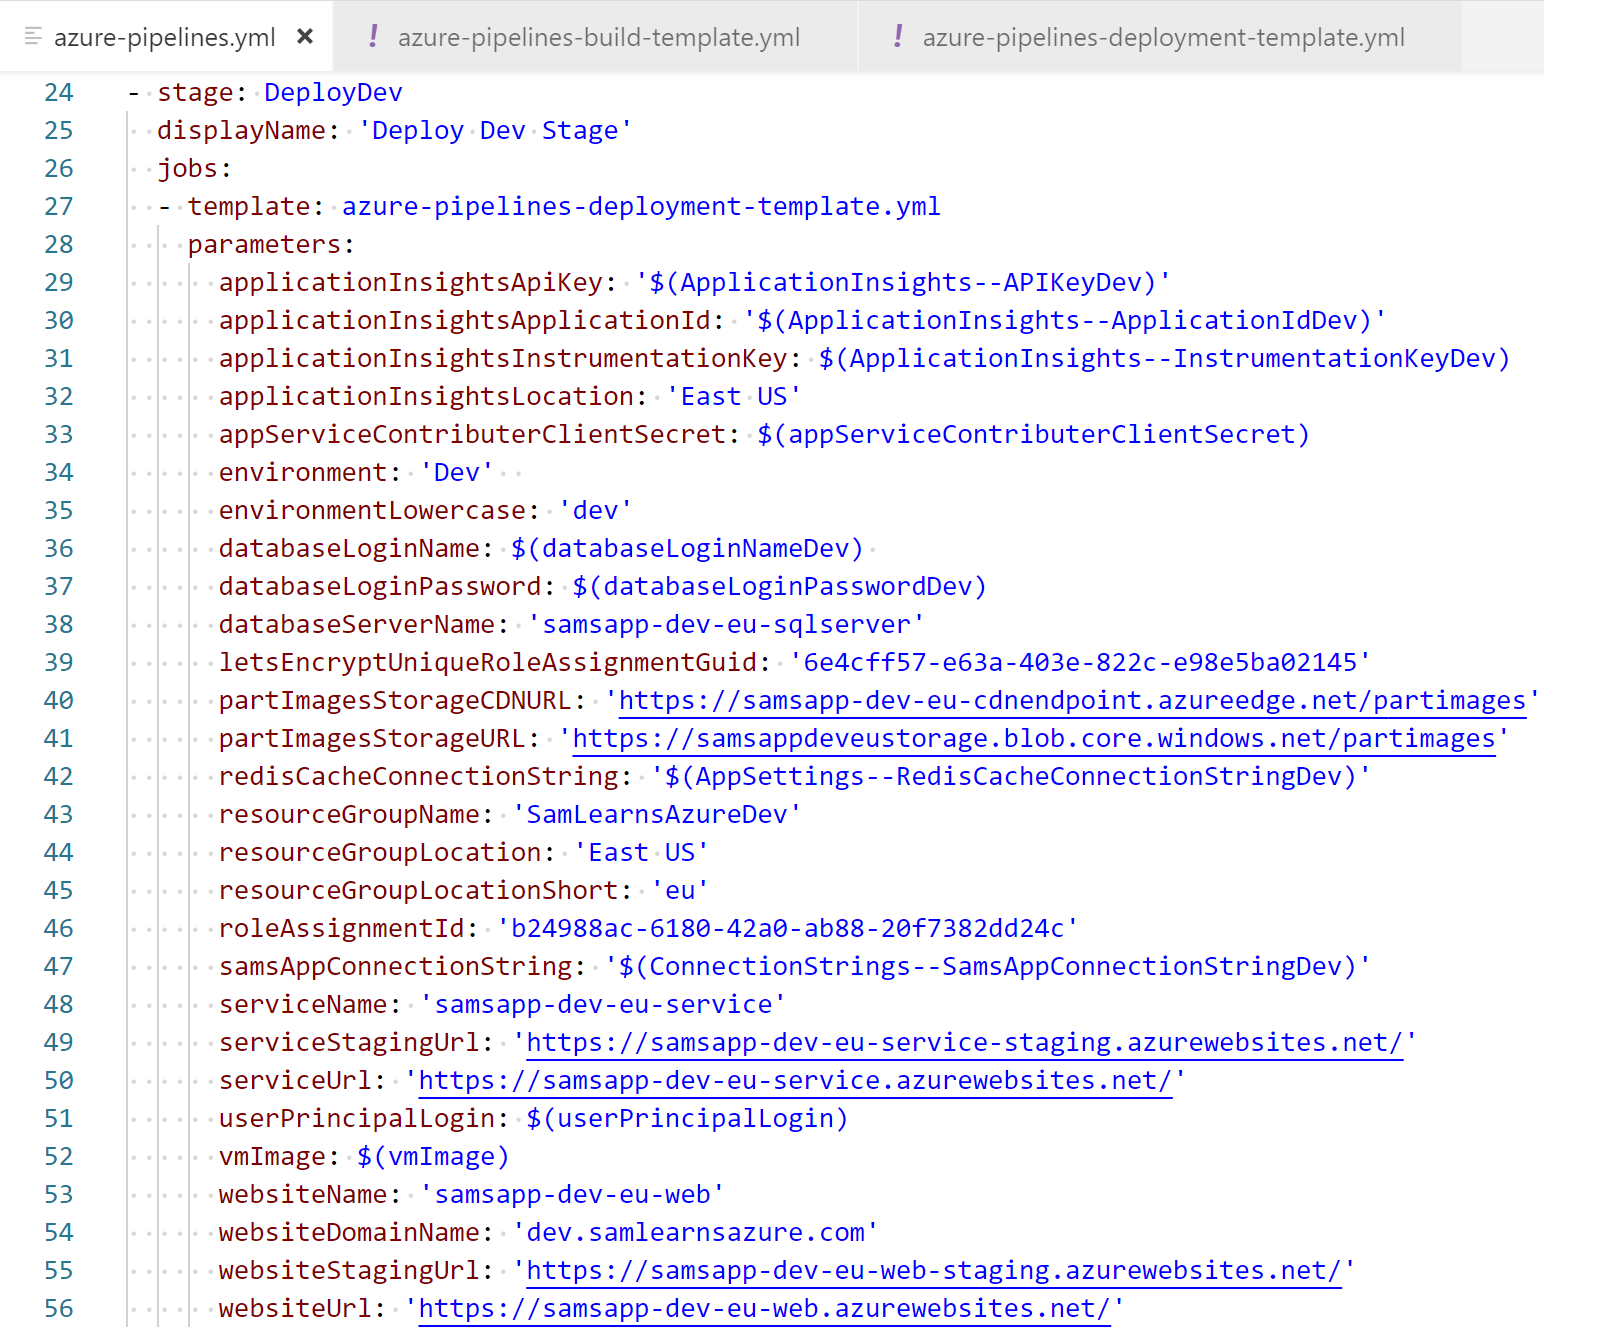
In the parent YAML, we pass the key vault values as environment variables. For example, the “applicationInsightsApiKey” property is read from the key vault using the environment variable “$(ApplicationInsights–APIKeyDev)”
Depends on, conditions, and pull requests
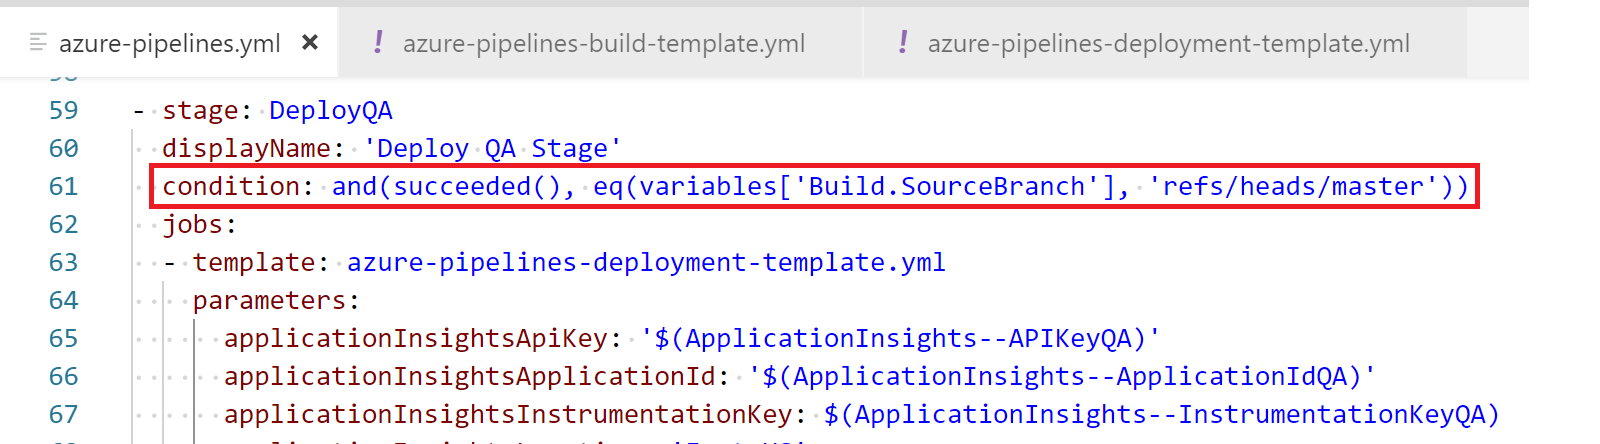
By default, before a stage runs, a pipeline requires the previous stage to be successfully completed and doesn’t need the “dependsOn: [stage]” statement. We do need to add custom conditions, as we only want the build and development stages to be run/deployed when we run a pull request. To have QA and Production be deployed, we will add a condition that requires we are deploying from the master branch. We will add the following condition on the QA and Prod stages:
condition: and(succeeded(), eq(variables['Build.SourceBranch'], 'refs/heads/master'))
This will only run these stages if the previous stage was successful, and the source branch is the master branch.
The resultant build will only process the build and dev stages while on the PR branch.

Wrapup
With our work complete, and many tweaks to add missing variables, we were able to successfully complete our PR, and watch our pipeline complete the build and three deployment stages successfully. We can now deploy our code in one pipeline, managed in our Git repo.

A few pieces of trailing advice:
- Use Visual Studio Code to edit and validate your YAML
- Remember that the multi-stage pipelines feature is still preview. Most teams should probably keep using the UI based releases for the near term
References
- Secrets in YAML: https://docs.microsoft.com/en-us/azure/devops/pipelines/process/variables?view=azure-devops&tabs=yaml%2Cbatch#secret-variables
- Visual Studio Code YAML Extension: https://marketplace.visualstudio.com/items?itemName=ms-azure-devops.azure-pipelines
- Visual Studio Code: https://code.visualstudio.com/docs/getstarted/tips-and-tricks
- Stage conditions: https://docs.microsoft.com/en-us/azure/devops/pipelines/yaml-schema?view=azure-devops&tabs=schema#stage

2 comments